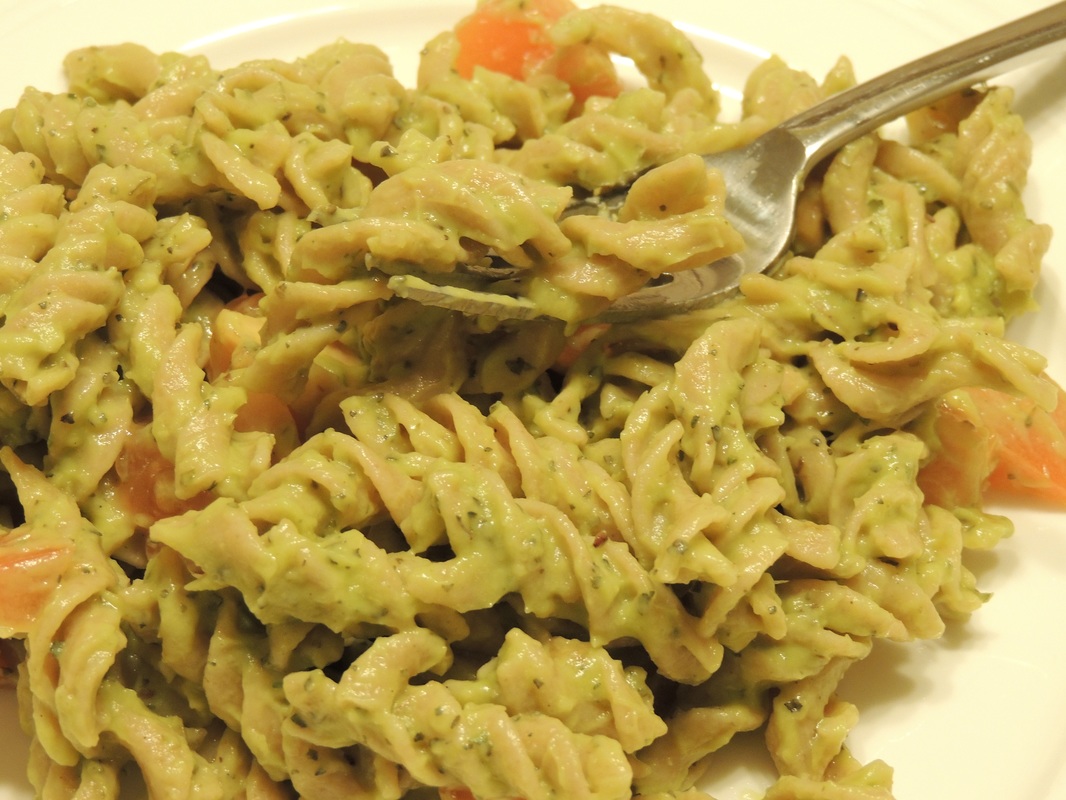
 Are you an avocado fan? Are you the absolutely love them kind of person - eating them on their own (with a little sea salt, I'm told)? Or do you just despise them - turning your nose up at the odd slimy green texture and the not-so-sweet tasting fruit? (Yes, it's a fruit!) Doesn't matter. You'll love this. Don't fear though. This dish is for you. All of you. It's good. I promise. 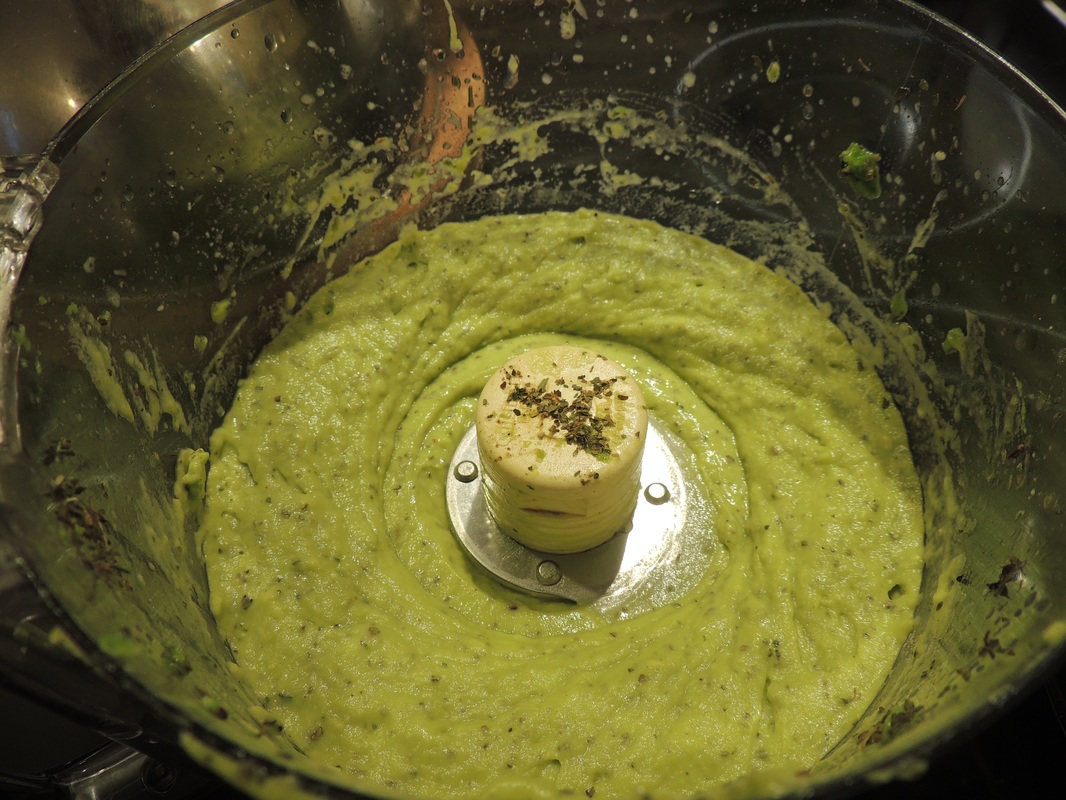 It's got lots of pros -Easy -Comes together fast (like cooking the pasta takes the longer) -Few Ingredients -Flexbile for add-ins (I added chopped fresh tomato. i would also add sweet corn next time!) -Healthy -Has avocados (but you don't taste them, don't worry) However, it has some cons. Take it or leave folks. Nothin's perfect (Except Banana Ice Cream - that is perrrrrrrfect) Anyway, here's my list of cons for this avocado creaminess: -Goes bad the next day -avocados are pricy No leftovers. I've tried. Yuck. Serve and eat right away, trust me! It does not taste good the next day. It tastes AMAZING seconds after preparing. And, yeah, pricy. Your call. Okay, here you go. Enjoy! 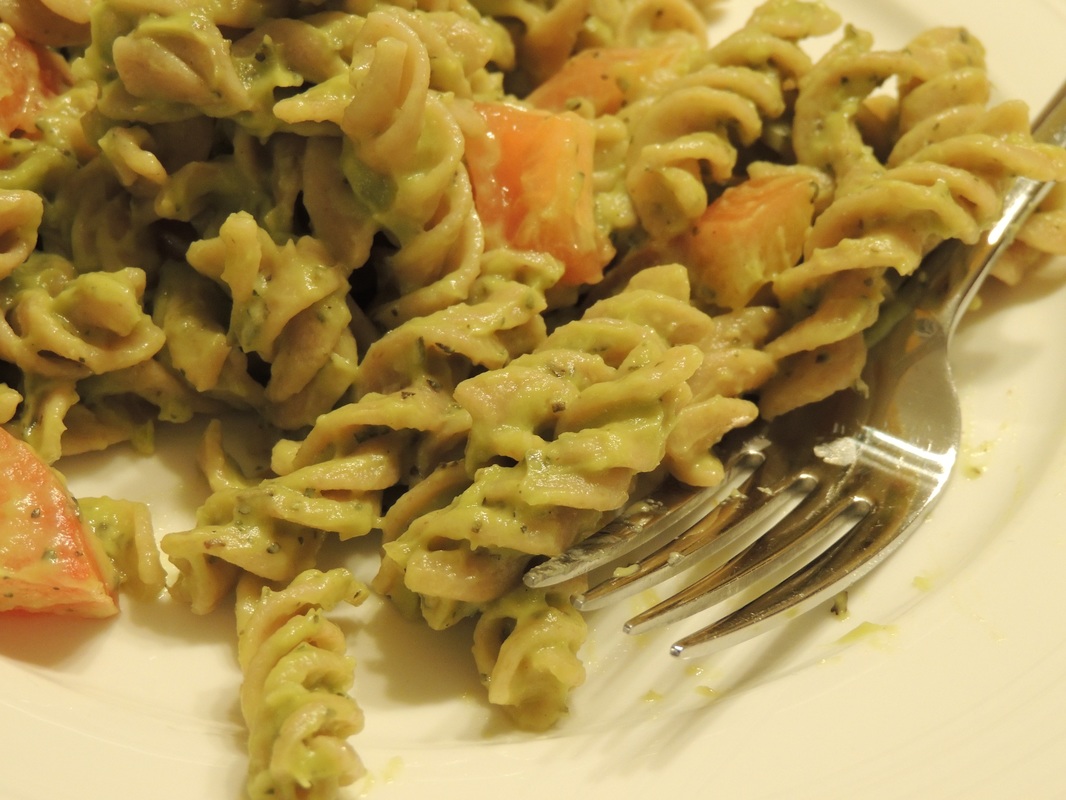 Creamy Avocado Pasta
Total Time: 10 minutes Ingredients: Pasta of choice 2 ripe avocados 3 cloves garlic, minced 2-3 tbsp lemon juice 1-2 tbsp fresh basil if you can, but I had to use dried and I survived :) Dash Salt/Pepper to taste 1 tbsp olive oil 1 ripe tomato, chopped small Recommend: Handful of sweet corn! What to do: 1) Cook pasta! Usually about 2-3 min fresh or 6-9 min packaged. 2) Cut avocados in half, lengthwise. Take your knife and cut into the seed, like you're going to chop it in half. Twist and the seed should pop out fairly easily. With a large spoon, scoop out the avocado flesh into a food processor. Add in garlic, lemon juice, basil, oil, and s/p. Process until completely smooth. *I also added about 1/4 cup pasta cooking water (starchy water). It helped smooth out the sauce more and helps it to stick to the pasta better - I do this with any sauce I'm eating over pasta. 3) Drain pasta and return back to pot. Add in avocado sauce. Add in fresh tomato and corn, and any other add-ins. Mix well and serve immediately. Enjoy! *Eat it all up! Leftovers do not taste as good because avocados oxidize very quickly. 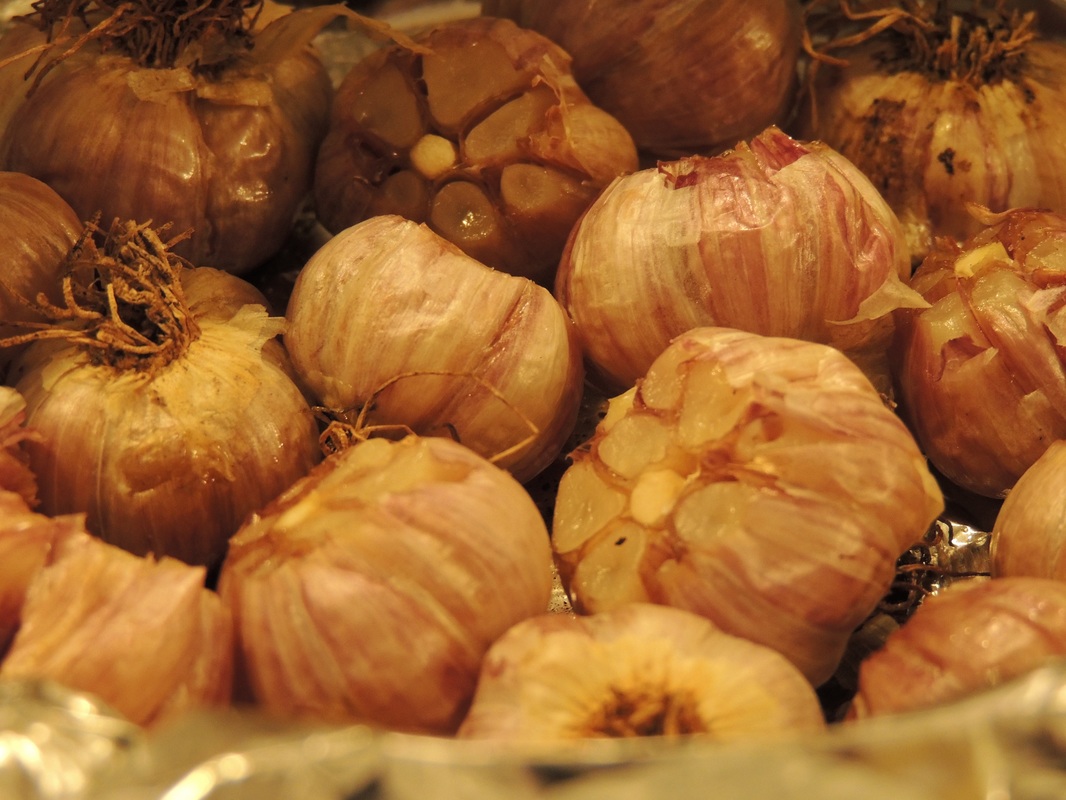 Ammmaaaaaaazing! We should all be doing it! 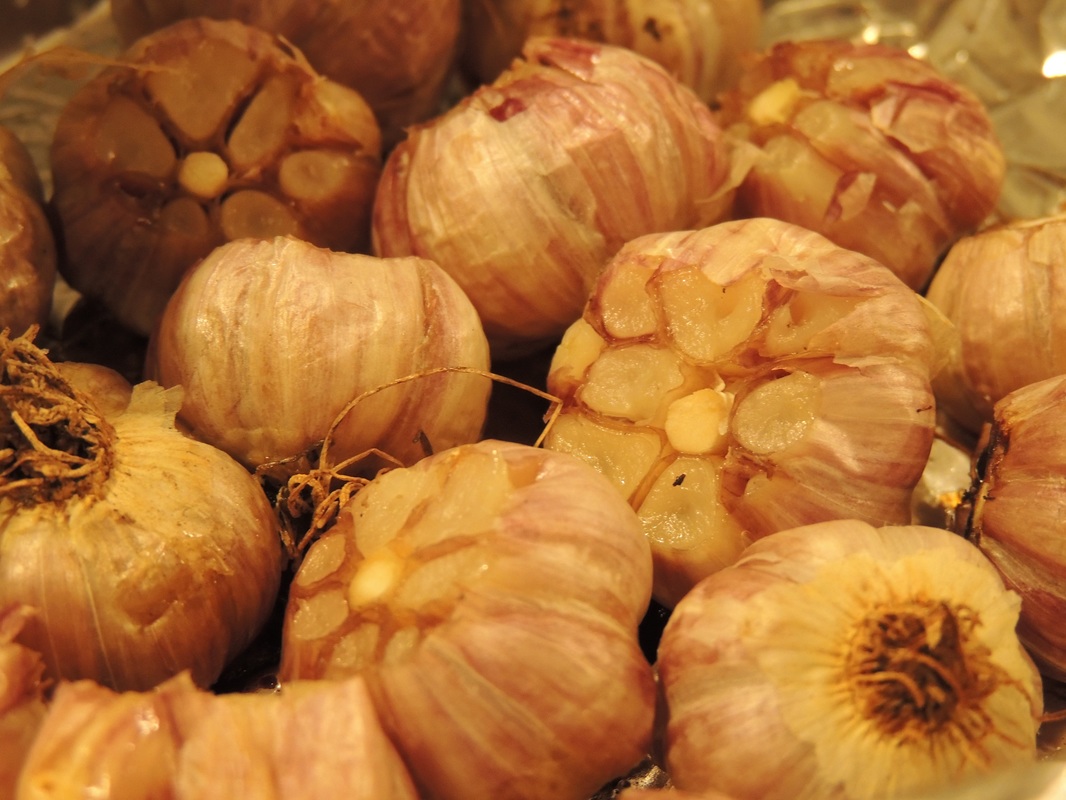 Just need your garlic bulbs, some tin foil, olive oil, and a pan to set it on in the oven. Nothing fancy. 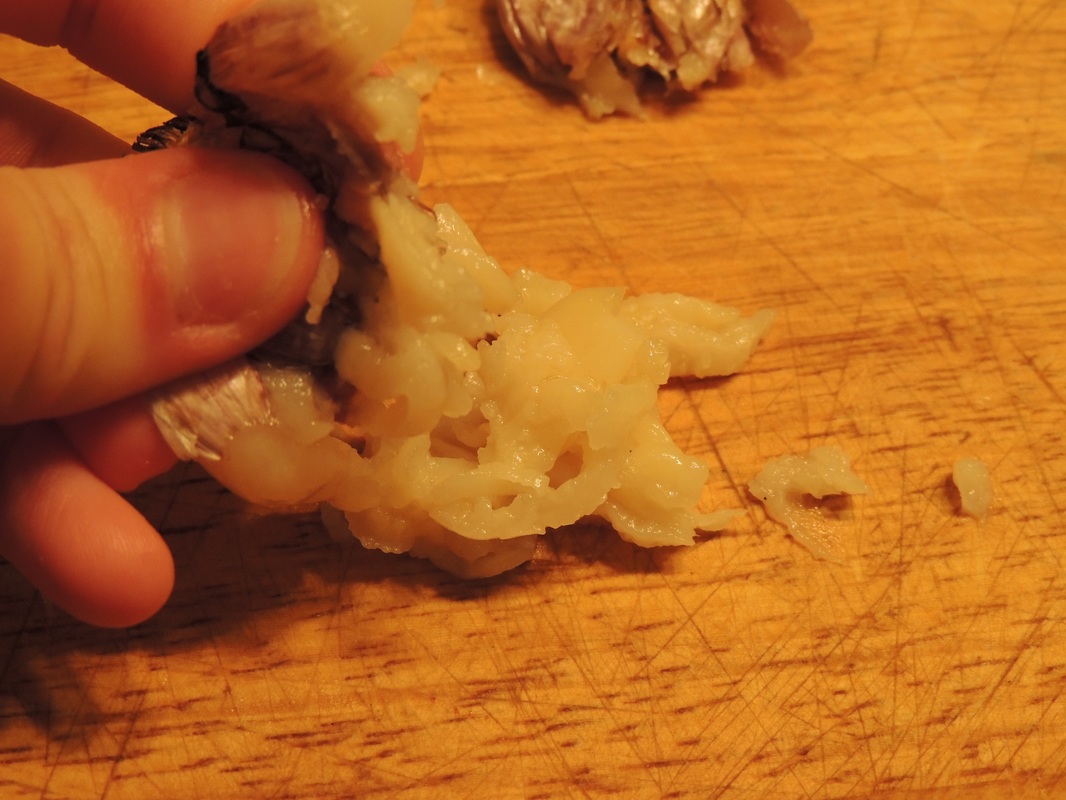 The result? This creamy, smooth, buttery-like garlic. You actually do squeeze it out. Like toothpaste. However, not toothpaste. You might need that, later. But seriously, so good. And, it kept in the fridge in an airtight container for almost 2 weeks! Give it a try. You won't be disappointed. 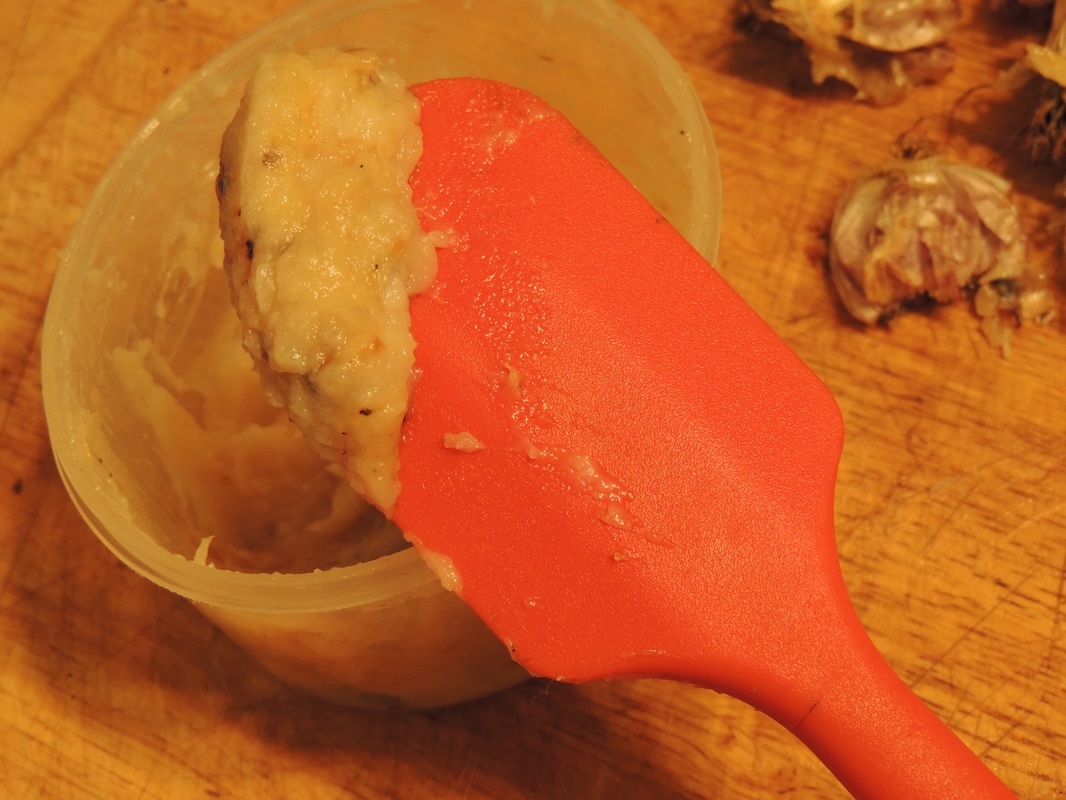 Roasted Garlic
Total Time: 40+ minutes, depending on the bulbs! Ingredients: Whole Garlic bulbs - as many as you like! Olive Oil Pinch Sea Salt What to do: 1) Preheat oven to 400 degrees fahrenheit. Take out a baking dish/tray and lay a large piece of tin foil on top. 2) Chop the tops off of the garlic bulbs so you expose each clove a tiny bit at the top. Place each bulb, exposed side up, on the tin foil. They can touch each other, doesn't matter. Drizzle olive oil over top of each bulb and sprinkle with a bit of salt. 3) Fold tin foil so it covers garlic bulbs and create a little packet. Fold edges over so air doesn't escape. Keeping in baking tray, place in oven, middle rack. Bake for 40 minutes or longer, checking at the 40 minute mark. You are looking for the garlic to look slightly golden but most importantly, soft to touch. 4) Once it's ready, take out, uncover, and let cool for about 10 minutes. Then, carefully, take each bulb and squeeze from the bottom up. You should find the most amazingly smooth, buttery garlic you've ever tasted!!! 5) You can use it right away, on toast, in sauces, on veggies or meat. Or, you can store in your refrigerator for a week or 2 and use in all of your meals! It's delicious. Enjoy! 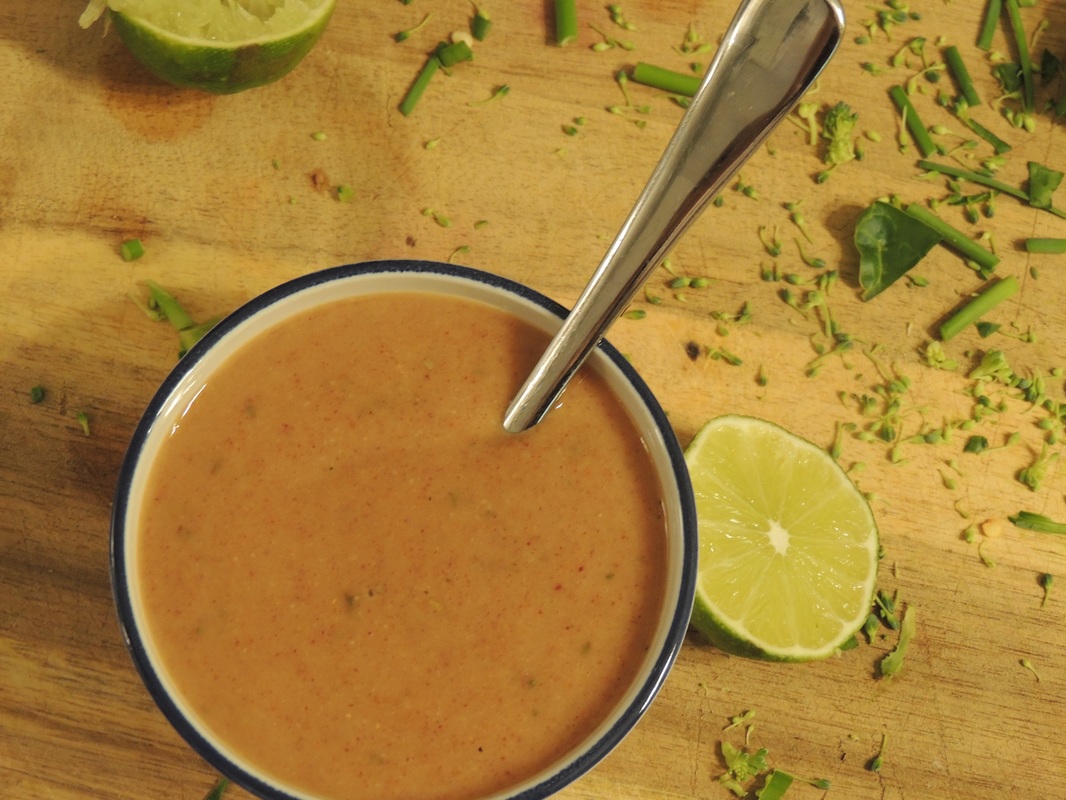
I eat a lot of peanut butter.
Luckily, Costco sells a great natural peanut butter in larger jars and a cheaper price! As a teacher, peanut butter is a no-no. Lots of kids = lots of allergies. No peanut butter sandwiches. No apple slices and peanut butter dip. No peanut butter and crackers. Easiest thing to eat for lunch. But not for the school life. And I truly feel sad for the kiddos who can't enjoy a delicious peanut butter sandwich. It's so good, easy, cheap, and filling. But, there are alternatives. My fave was sunflower seed butter. That became my peanut butter while working. It has it's own flavour, but I loved it. Used it in place of peanut butter for cooking, baking, sandwiches - it's great! I definitely recommend it! But I'm not teaching anymore! I'm home! Woohoo! Peanut butter for the win! And did I ever get back into my peanut butter groove. And Hannah has eaten her fair share of it, too! I wanted to make sure she could tolerate peanuts, as they are so much apart of my life! Haha, so far, so good! 
Not only has peanut butter become my go-to lunch and snack, I've gotten back into the routine of using it to cook with. Not having to worry about bringing leftovers for lunch that had nuts in it.
So, here, I present you with a recipe I use often - a spicy peanut sauce. It's smooth, creamy, rich and spicy. Using peanut butter as a base for sauces started out as a make-shift ingredient in place of soy sauce when making stir fries. I definitely miss soy sauce when it comes to that. But then, over repeated version and attempts, this yummy sauce has emerged! We use it over stir fried veggies with rice or noodles. Or, it makes a great dipping sauce for rice wraps! Another frequented meal around here. If you haven't tried those yet, get going with it would ya!? They are super easy and healthy! A simple recipe found here and here. Anyway, I urge you to opt for a different kind of sauce for your next stir fry. If you can't serve peanut sauce because of the peanuts, try a different nut or seed butter in place! I used to make it a lot with almond butter since my students could tolerate almonds. It tastes great, as well! 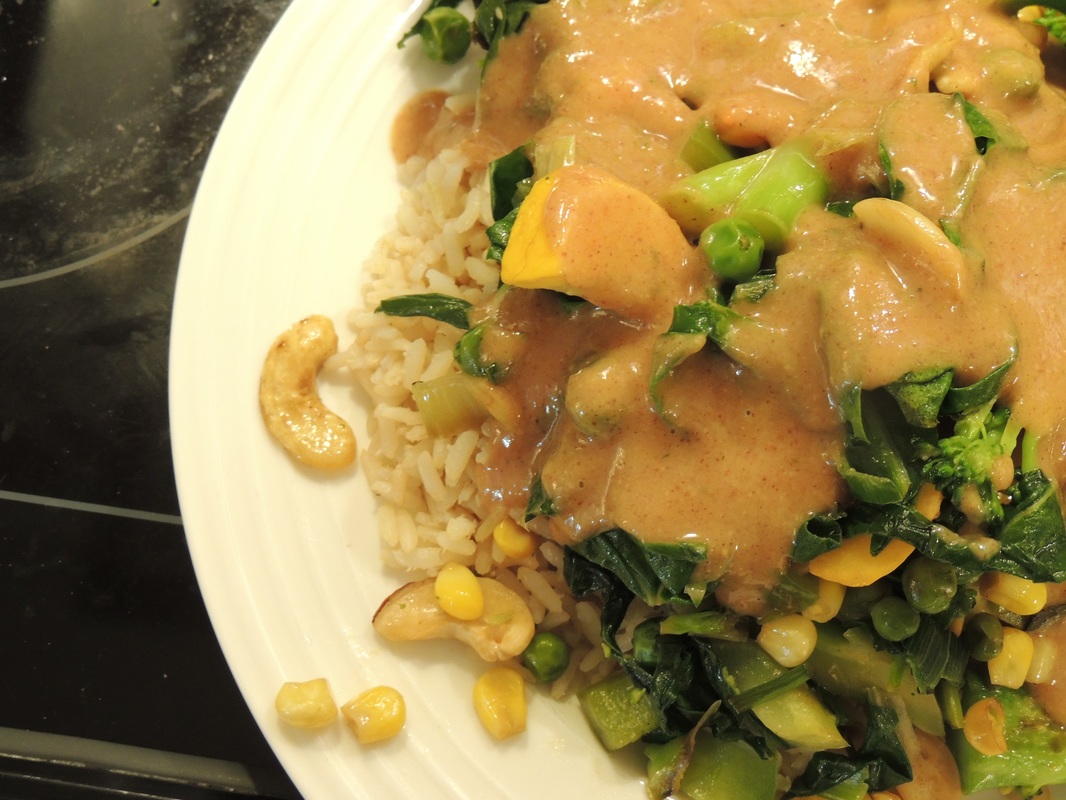
Total Time: 5 minutes
Ingredients: 2 tbsp. all natural smooth peanut butter 1 tbsp. honey 1 tbsp. rice vinegar 1 tsp. sesame oil 1 cup vegetable broth/bouillon + water zest and juice from 1/2 lime 1 tsp-ish (more or less, depending on your preference) each: garlic powder, ginger, cumin, cilantro 1/4 tsp-ish each: cayenne, sea salt, pepper What to do: 1) Add all ingredients to a small bowl or jar. Mix well until combined and 'saucy'. :) You do not need to heat this up, although you can if you prefer a warm sauce. It's good cold or hot! Great for dipping wontons, rice roll ups, overtop stir fry, noodles, or chicken. So good. Enjoy! |
All Vegan, Refined-Sugar-free, Soy-free. A sprinkling of Gluten-free. And a pic of my babies, when they were babies. :)

Recipe Categories
All

|
 RSS Feed
