| Healthfully Delicious |
healthfully delicious
real food. real life.
|
Okay, I can't believe I'm posting something like this because I'm still in shock of how easy it is, how little work it takes, and how delicious it turns out! Lee received this recipe from a friend, so I am in no way taking credit for it, in fact, I have no idea where it came from so I can't credit anyone! It's just soooo good, I have to share it. And you have to try it.
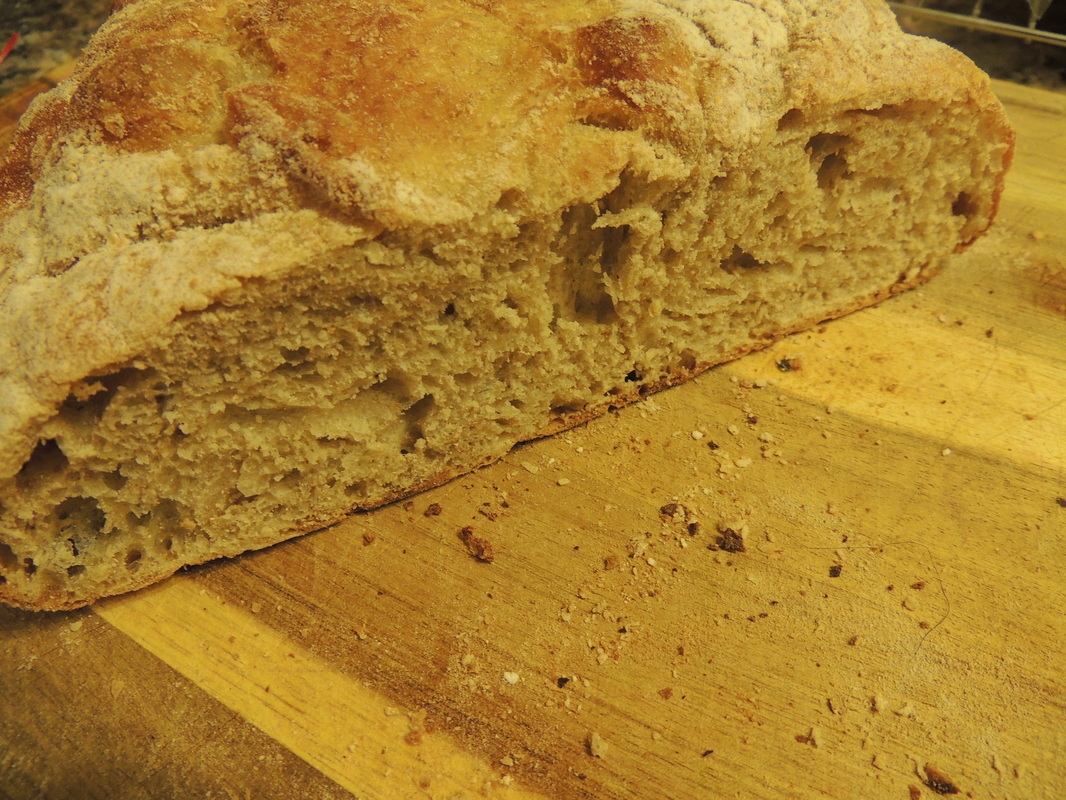
You can make it on weeknights it's so easy! It takes very little of your time and with a few simple steps, you can have your house smelling of home-cooked bread and impress your family with your awesome baking skills. :) As quoted by Lee's friend, "It will change your life". And that's no lie - it really does! It's so easy to whip up on a random Tuesday evening. You could make one every night of the weekend and still be able to do all that needs to be done. No lie. It's super easy and tastes like bakery-style bread. Seriously, I'm not lying. I can't stress enough how easy it is! If I haven't said it enough, here I go one more time - it's easy! Don't be scared by the 'bread' recipe. There is no kneading, no special skills needed at all! Anyone can make this. You just need the ingredients, an oven, and a ceramic deep covered dish, like a dutch oven. Get them and get started! Here is the recipe! *I'm not sure if it would turn out well with gluten-free flour... someone give it a try though and let me know! *This recipe makes 1, medium-sized loaf. You can multiply the ingredients by 1.5 to get a bigger loaf. Ingredients: 3 cups flour (a minimum of 2 cups white unbleached flour for best results. The third can be spelt, whole wheat, rye, whatever you fancy, or just all white) 1/4 tsp active dry yeast 1 1/2 tsp sea salt 1 1/2 cups water What to do: 1) Roughly mix all ingredients together. The dough will be slightly more wet and sticky than regular bread dough. 2) Place the dough in an olive oiled bowl. Cover so it is air-tight and let sit between 12-24 hours. (The longer time yields a more flavourful and bubbly soft bread) 3) Slide the dough, using a flour-coated spatula (the dough will stick to everything at this point - best to coat things in flour!) onto a floured surface. (We use a non-stick baking sheet or parchment paper) Flatten it out with your fingers and then fold it over onto itself a few times so that a seam will show on top. Flip the whole thing upside down so the seam side is down, round the shape somewhat, sprinkle with some flour, and let it rest for 2 hours, covered with a cloth. 4) About 1/2 an hour before the rest period is over, place a lidded dutch oven into the oven and preheat to 475-500 degrees Fahrenheit. 5) By the time the rest period is over the oven will have reached its temperature. As quickly as you can, take the dutch oven out of the oven, dump your mound of dough into it (it'll be seam side down)) put the lid back on and put it back in the oven. 6) Bake for 30 minutes. Remove the lids and bake for another 10 minutes or so until it is nicely golden brown (time varies depending on oven) ****As tempting as it may be to slice into your loaf right away, be sure to wait an hour before taking the first slice otherwise the bread will be gummy. Also, water amounts are a variable thing in bread and the exact amount depends on may thing including the type of flour you're using, humid levels, etc. It's a matter of personal taste. Feel free to add flavour: herbs, chopped kalamata olives, roasted garlic, etc.! Ah, this has been sitting around for a while waiting to be posted. Lee is still tweaking the tortilla recipe, but I couldn't wait any longer. So yummy and much easier than you think! My Dad started making these and inspired Lee to give it a try. After a few attempts, he now makes a batch when making bread and stores them in the freezer. They freeze independently and thaw within a few minutes left on the counter. So easy and quick!
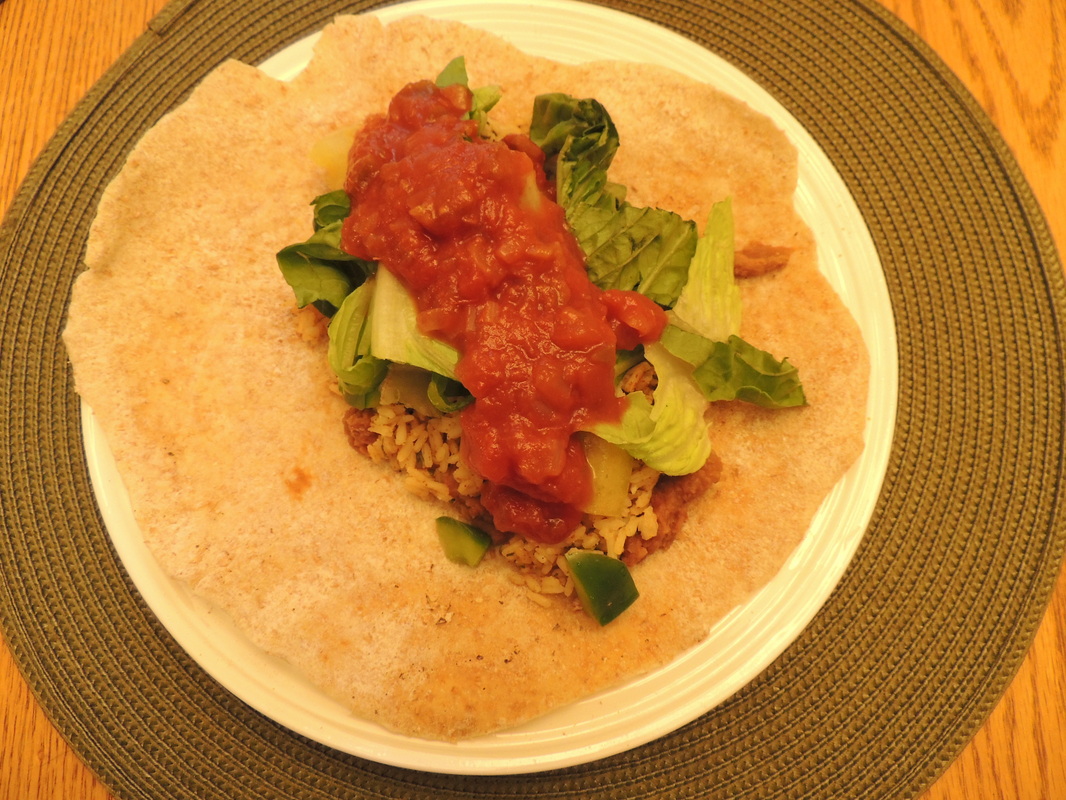
I thought I would also include a recipe for homemade fajita seasoning. I can't believe I'm guilty of once buying packaged seasoning mixes for tacos/fajitas. Not only is just a mix of spices you already have, so therefore, totally ripping you off, but it also includes a bunch of added sugars and preservatives that you just don't need, or want, to have in your food! As promised, here's the recipe for both. Whole Wheat Tortilla Wraps Ingredients: 2 cups flour 1.5 cups warm water 1 tbsp olive oil + a bit more, if needed What to do: 1) In medium mixing bowl, add water and oil. Mix and knead together until it forms a ball that is not longer sticky and is light feeling, not dense. Add more flour as needed to get it to this point. 2) Once dough is no longer sticky, break apart into little balls, slightly smaller that the size of a golfball. 3) Sprinkle some flour on the counter or workspace. Using a rolling pin or just your hands, flatten out into round, thin tortillas. As thin as you get them! 4) Using an electric skillet or cast iron skillet, turn to medium/high heat. Keep hot, but do not grease the pan! Put your first tortilla onto the skillet. Flip once it starts to bubble, a few minutes. Remove from pan once the other side bubbles/browns, after another minute or so. 5) Let cool on a drying rack and place in a sealed plastic bag fairly soon or they will start to harden. Taco/Fajita Seasoning Ingredients: 1 Tbsp. or so of cumin, chilli powder, garlic powder Squeeze of a whole lime A few shakes of cilantro & dried red pepper flakes Water if needed What to do: 1) If using meat, brown in pan with a bit of oil over medium heat. We often use ground turkey or chicken, so oil is needed as there is little fat. If not using meat, chop veggies (such as peppers, corn, and onions) and stir fry in a bit of oil to soften. 2) When meat and veggies are mostly cooked, turn heat to simmer and add seasoning ingredients. Stir to combine. Add a bit of water, if needed, to give it a sauce. Taste and adjust as needed! Remove from heat so it doesn't get too dry.  Here it is! The recipe many have been asking for. The original recipe, a basic homemade white bread, has been adapted and changed throughout the years by my father years ago (before I was born and I was spoiled with homemade bread throughout my childhood. I grew up eating this bread for everything, from school lunch sandwiches to Sunday morning french toast, and am now lucky enough to have my husband take a liking to it and learn how to make it, too! Now I get to enjoy homemade bread for many more years to come! There is no dairy in it and it has been adapted to have honey instead of refined white sugar. You will love this bread if you give it a try! It is homemade - which means you need to dedicate some time to it, but honestly once you do it a couple times, it's easy and you get used to how long it takes - or so says Lee. Let me know if you try it! Recipe/Instructions as written out by Lee and passed down by my father: What you need: Whole Wheat Flower Extra Virgin Olive Oil Sea Salt Active Dry Yeast (I like the Fleischmann’s brand that’s in a jar - not the packages) Honey or Maple Syrup Hot Water (from tap) Dairy and soy free butter Bread pans (4 to 5 of them for this) Optional: Flax Seed or really any kind of seed you want to add! Directions: Step 1: Mixing & 1st Rising In a large bowl, fill it half full of hot water (2L) (If making Pizza dough, fill it a 1/2 L or 1L) Add in a large spoon full of Honey Stir into water until dissolved Add in Yeast (Fill palm of hand, dump it in the water, then do this one more time) Wait until the yeast activates and floats to the top of the water (Could take up to 10 minutes) Add in Oil until it clouds up to the surface of the bowl Add a pinch of sea salt **If adding flax seed, add it now (1 cup of flax seed) Start adding flower, one cup at a time Mix it and keep adding flower until it’s almost a ball of dough in the bowl Place a little flower onto cutting board (to keep dough from sticking) Dump bowl onto a cutting board on table Clean bowl Keep adding flower (1 cup at a time) but start to knead it with your hands The dough should start to stick together. Form it into a ball and poke it - if it doesn’t bounce back, it’s ready for it’s first rising Grease bowl with dairy and soy free butter Place dough into bowl, and flip it so the butter coats both sides Cover with towel and place in a draft free space for 1 hour (I like putting the covered dough in the oven - it’s draft free!!) ***If you’re in a rush and making Pizza, you could just spread the dough and cook the pizza now Step 2: 2nd Rising Once dough has risen for the 1st time, remove towel and punch the dough to deflate it. Add a little flower to cutting board to keep dough from sticking Dump dough on cutting board Knead it with your hands for 5 minutes (dough should bounce back when poked) Let sit for 5 minutes and prepare bread pans - grease the with dairy and soy free butter Cut slices off of dough, about the length of the bread pan Knead individual pieces, then place into bread pan. For dough made with Whole Wheat Flower, you need to fill the bread pan 3/4 full or more. It’s slow to rise. Flatten down into bread pan Repeat until all dough is gone. ***If making Pizza - you can just spread the pizza dough and cook the pizza now (cooking instructions down below) Place bread pans (full of dough) into a draft free area (a warm area will help it rise faster) Let it rise for a 2nd time - this time it needs to rise for 1:15 (or could be a bit shorter or longer - check it at 1 hour to see if it’s risen where you like it) Step 3: Cooking Turn on oven to 400 degrees (F) Once pre-heated, place 2 to 3 pans in at one time Cook for 35 minutes Remove To tell if it’s done - tap on the top of the bread when it comes out, if it feels hard and sounds hollow, it’s done! When remove it from bread pan - flip it over and tap on the bottom of the bread, same thing - if it feels hard and sounds hollow, it’s done. If not - place back in over for 5 minutes. Let cool. |
All Vegan, Refined-Sugar-free, Soy-free. A sprinkling of Gluten-free. And a pic of my babies, when they were babies. :)
Recipe Categories
All
|


 RSS Feed
