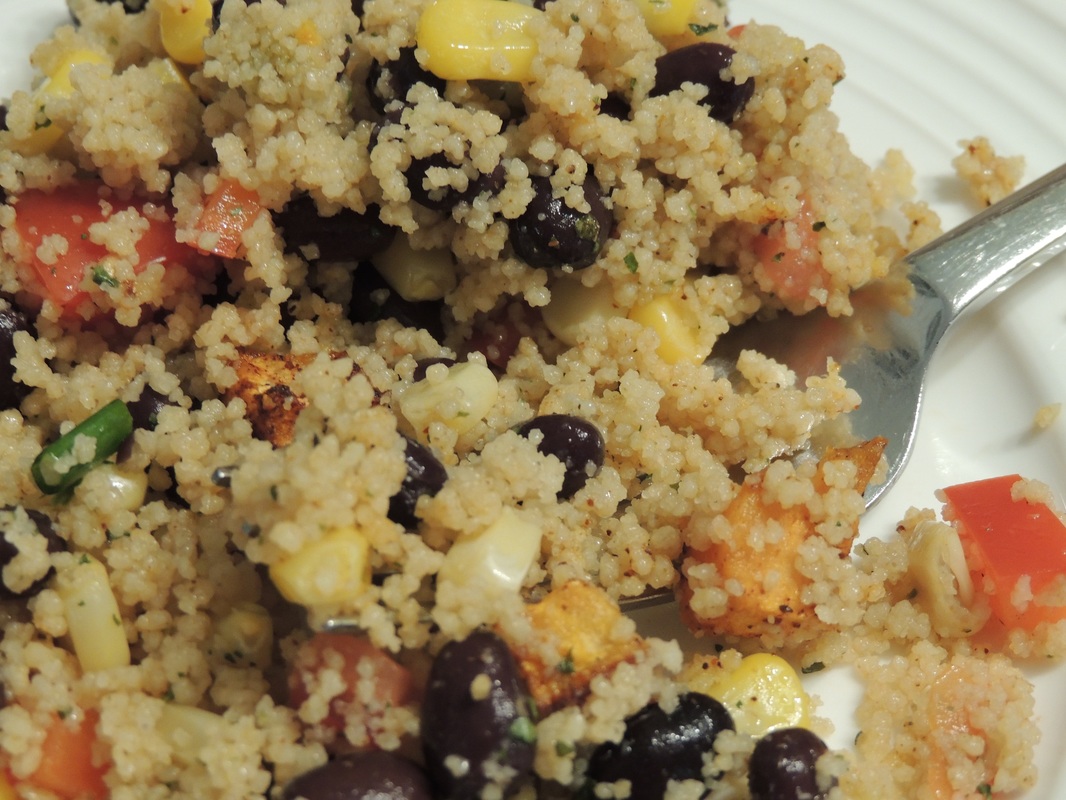
 It's been hot this summer. Humid. So humid. Even though it's sunny out, sometimes I like to stay home. Feeling guilty, but also satisfied with the AC. Here's a simple summer salad, a new family favourite thanks to my Mom and family get togethers! It's delicious on a hot humid day, or even on an inside guilt-free day. Cous cous is extremely simple to cook. It's perfect for a quick dish. If you have never tried, this should be your first dish with it. I honestly don't think it'll let you down. Hope you enjoy! And the rest of your summer days - inside or out! 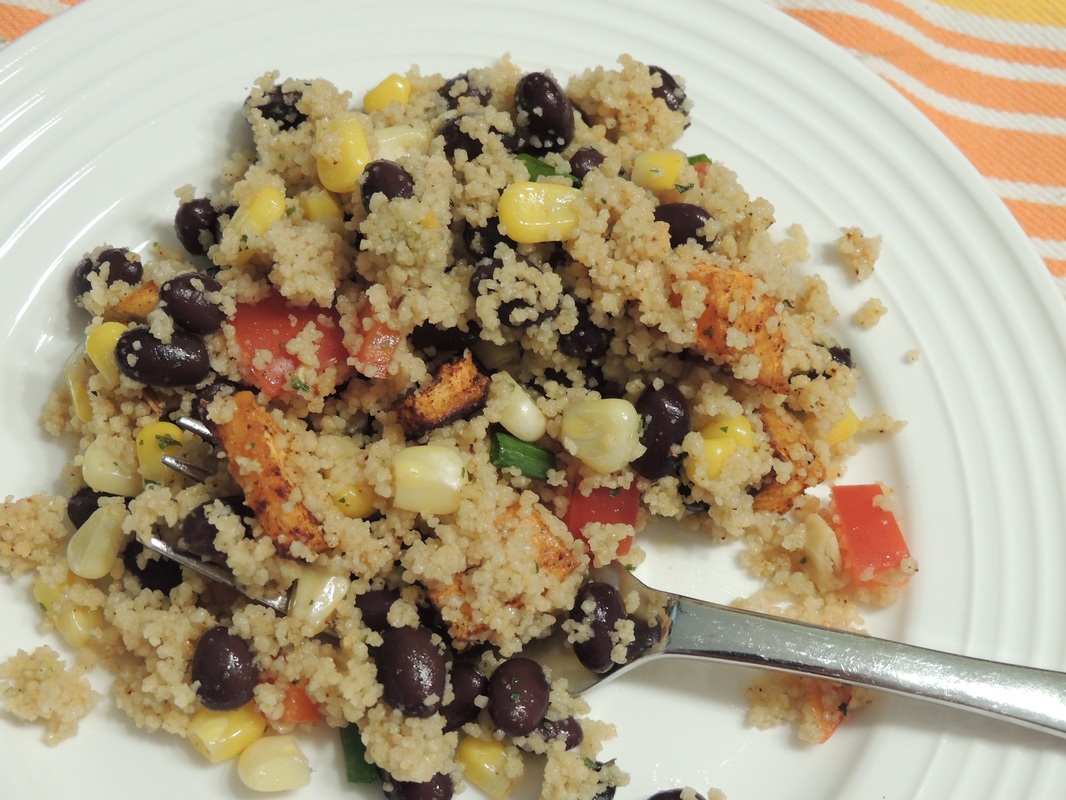 Summer Sweet Cous Cous Salad
Total Time 35 minutes (really just waiting for the sweet potato to cook, everything else is super simple and fast) Ingredients: 1 small sweet potato, chopped (Feel free to omit if you don't want to turn on the oven!) 1 cup uncooked cous cous 1 1/4 cup broth 1/4 cup Olive Oil 2 tsp red wine vinegar 1 tsp cumin 1/4 cup cilantro 1 bunch green onions, chopped 1 cup frozen corn 1 can black beans, rinsed 1 tomato, chopped salt/pepper to taste optional: lime juice to taste! What to do: 1) Prepare cooked sweet potato by roasting in the oven to get the sweetest taste. drizzle in a bit of oil so each piece is evenly coated and arrange on a single layer on a cooking sheet. Bake at 400 degree fahrenheit for about 25 minutes, or until just tender when inserted with a fork. Always try a piece to be certain it's cooked to your liking. (Try not to overcook or they'll be too soft and fall apart in the salad.) 2) Prepare cous cous by bringing broth to a boil. Remove from heat and add uncooked cous cous, stir once with a fork and let sit covered for 5 minutes. Fluff with a fork when done. 3) Prepare dressing by combining oil, vinegar, cumin, and cilantro. Add green onion, corn, black beans, and tomato. Stir evenly to combine. 4) When cous cous is done, add to the veggie/dressing and stir evenly to combine. When sweet potato is done, let cool for at least 10 minutes before adding to the salad. Add a little salt and pepper to taste. Enjoy! 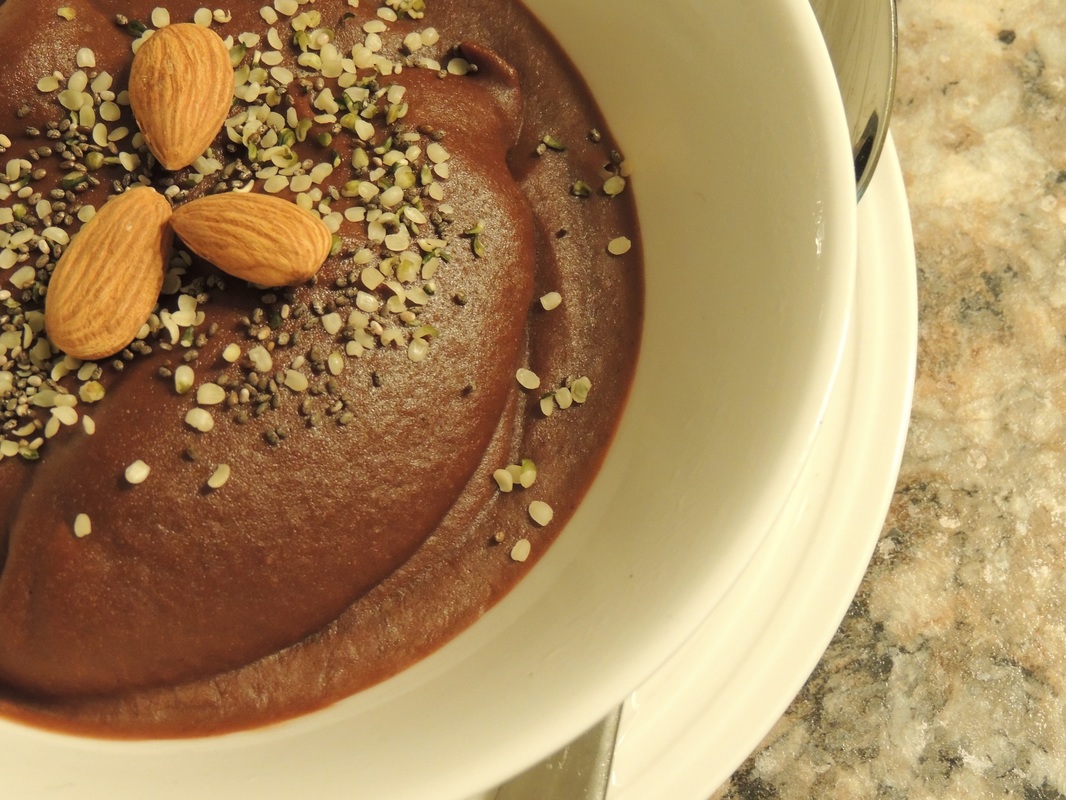 This is the evening treat to have in our house. This variety, using almond butter is particularly awesome. However, if you're not into buying the insanely expensive almond butter or perhaps there's a nut allergy nearby, you can omit any of the ingredients except the bananas, they are kind of essential. All other ingredients can be swapped, left out, adjusted, whatever! And you don't really have to measure, we never do, just kind of go for it. Take the risk. You can do it. 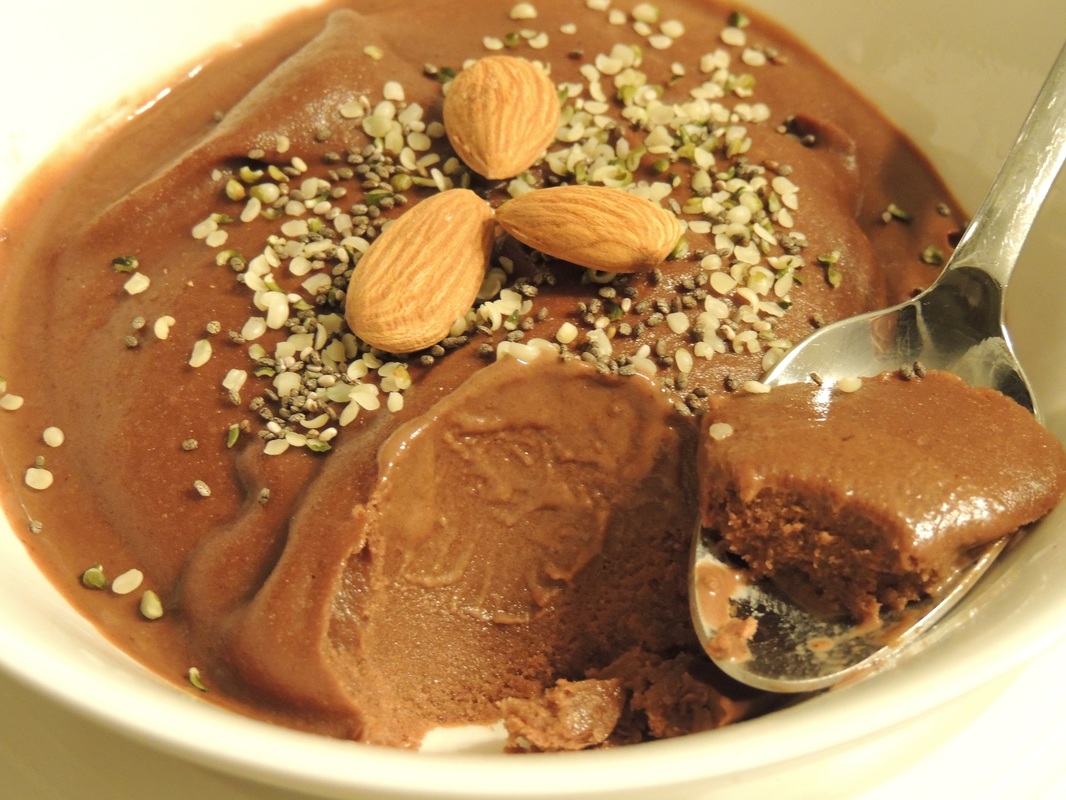 And another fantastic use for ripe bananas! Just be sure you peel and chop them BEFORE you put them in the freezer. You'll thank yourself later. 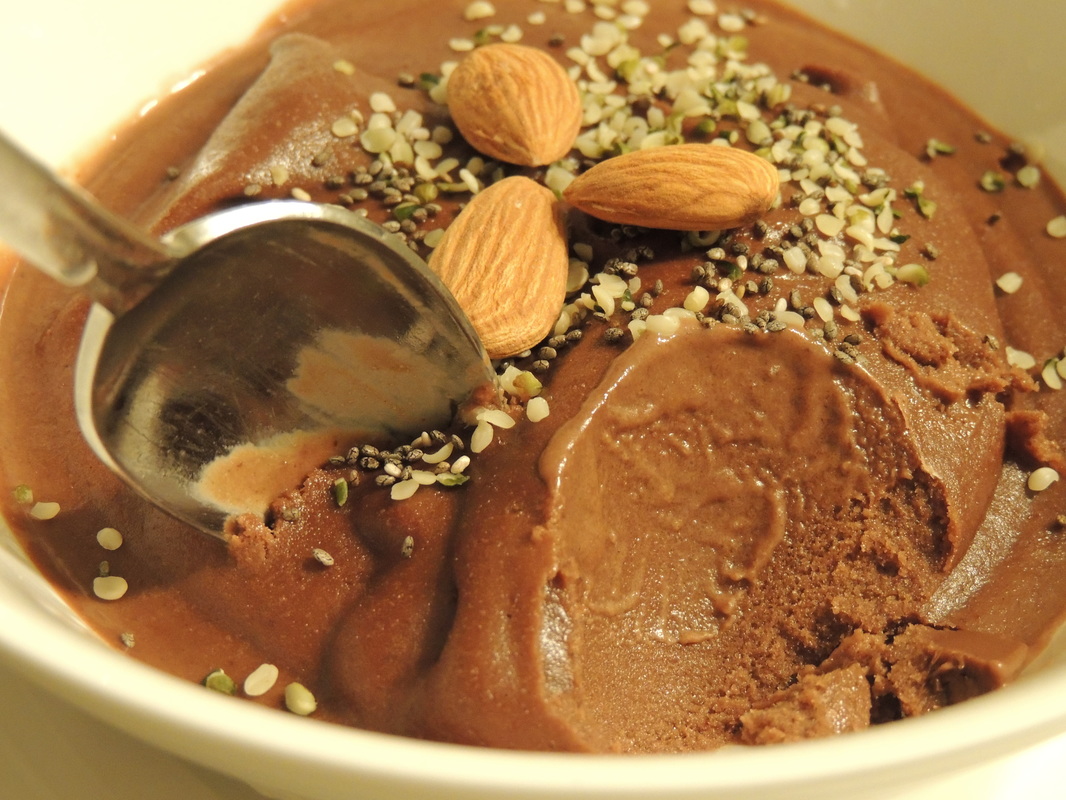 Chocolate Almond Banana Ice Cream
Ingredients: 3 ripe bananas, peeled, chopped, and frozen (overnight) 1 tbsp almond butter (or any nut/seed butter, or omit completely and it still tastes great) 1 tbsp cocoa powder 1 tsp vanilla extract 1/4 cup or a bit more almond milk, or another milk/milk alternative What to do: 1) Take frozen bananas out of freezer and let sit for about 5 minutes if they are rock hard frozen. Then, empty into food processor or high speed blender ensuring they are broken up/separated and not stuck together into large banana chunks) 2) Add in all other ingredients and blend! Blend, blend, blend. Take off top, using a spatula scoop down the sides and smash it down bit to even it out, easier on the blender. Then blend some more. Blend, blend, blend, smash down, scoop, down, blend some more. Repeat until it forms a nice, smooth soft serve ice cream consistency. 3) Work quickly so it doesn't melt much more. Scoop ice cream out into a large bowl, or individual bowls, and place bowls into freezer to firm up a bit more. Lick food processor dishes before washing. A must in our house. 4) After about 30 minutes in the freezer, it should have started to harden back up into a scoop-able ice cream. Serve as is, with an easy dairy-free chocolate sauce, sprinkled with hemp and chia seeds, or chopped strawberry, or all of the above as I like it. Enjoy guys! This is a common dessert in our house! We hope you love it, too! 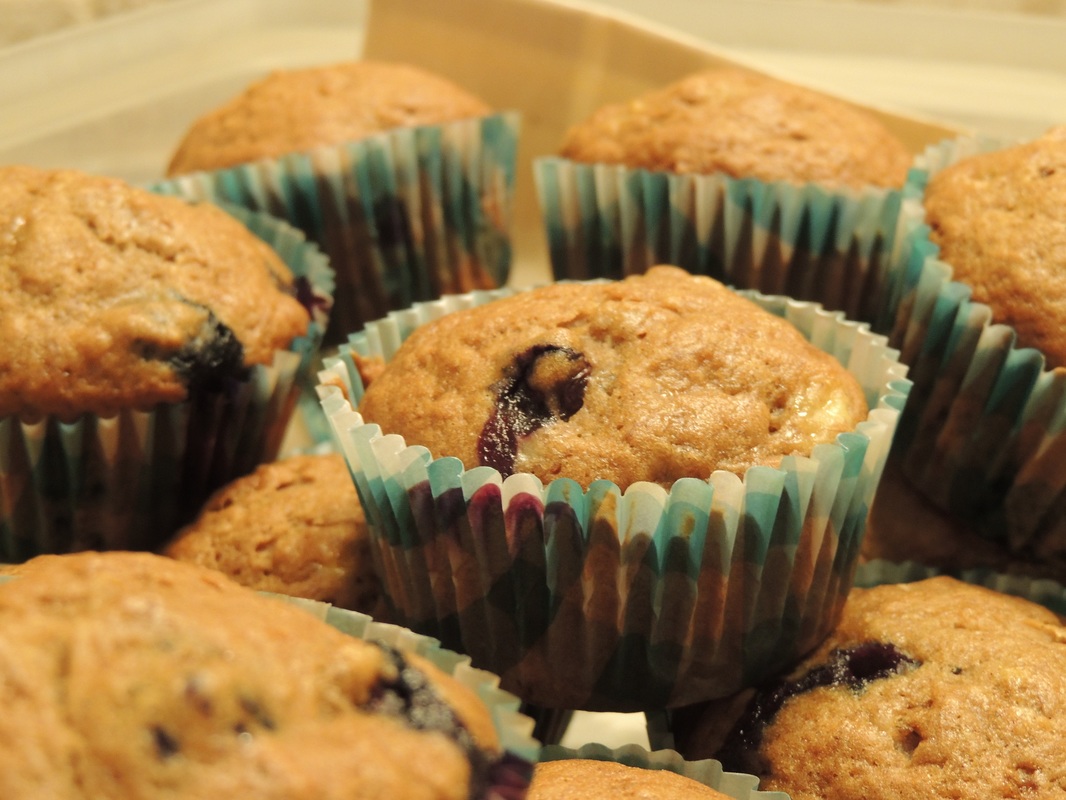 If you haven't caught the ripe banana train yet, you best get on board soon! Seriously, what are you doing? Take those brown bananas, peel and chop them up and freeze those suckers! But save a few for this recipe, first. They're like gold! I made these in 30 minutes exactly, start to finish. Baked to perfection in exactly 25 minutes and prep time was minimal as I just blended it all together step by step. Bananas = easy peasy! 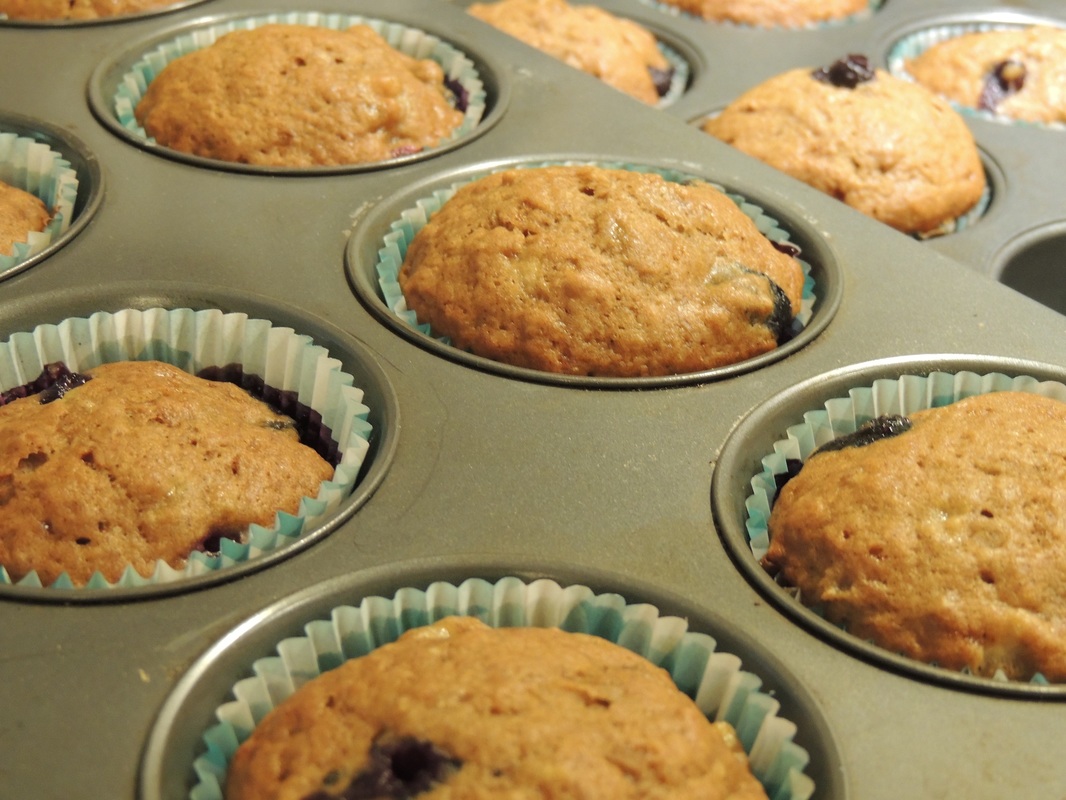 Maple Banana Blueberry Muffins
Total Time: 30 minutes Ingredients: 3 large ripe bananas 1/2 cup coconut sugar 1/4 cup maple syrup 1 egg (or flax/water egg replacer) 1/3 cup melted coconut oil 1 tsp cinnamon 1 tsp baking soda 1 tsp baking powder 1/2 tsp salt 1 1/2 cup flour 1 cup blueberries What to do: 1) Preheat oven to 350 degrees fahrenheit. 2)Using a mixer, blend bananas until smooth. 3) Add sugar, maple syrup, flax or egg, and coconut oil. Blend until combined. 4) Combine dry ingredients in a separate bowl and mix into banana mixture. 5) Gently fold in blueberries. 6) Spoon into 12 well greased or lined muffin cups. Bake for 25-30 minutes. Let cool and enjoy! |
All Vegan, Refined-Sugar-free, Soy-free. A sprinkling of Gluten-free. And a pic of my babies, when they were babies. :)

Recipe Categories
All

|
 RSS Feed
