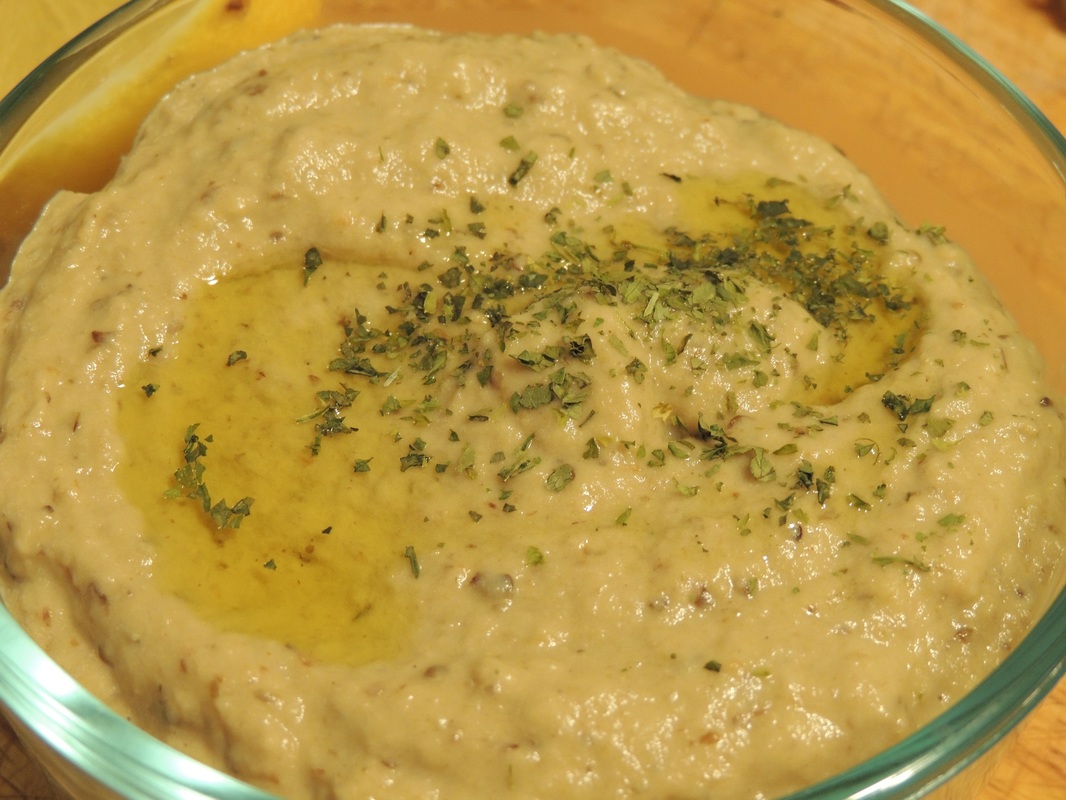
 I need to be honest. I'm just a home cook, posting meals I make at home online, for whoever to read. Everything I know, or seem to know, I've learned myself. I ask questions when I'm around good cooks. I watch a lot of cooking shows. I read a lot of cookbooks. I pay attention to how things are made. That's it. Nothing fancy. Sometimes I feel like an odd-ball, looking for ways to make everything myself instead of buying it already made. Even if it means screwing up a bunch of batches before figuring it out. Essentially spending a ridiculous amount of time in the kitchen and, in some cases, spending more money learning how to do it than it would have cost to just buy the package. But I love it. And it does pay off. 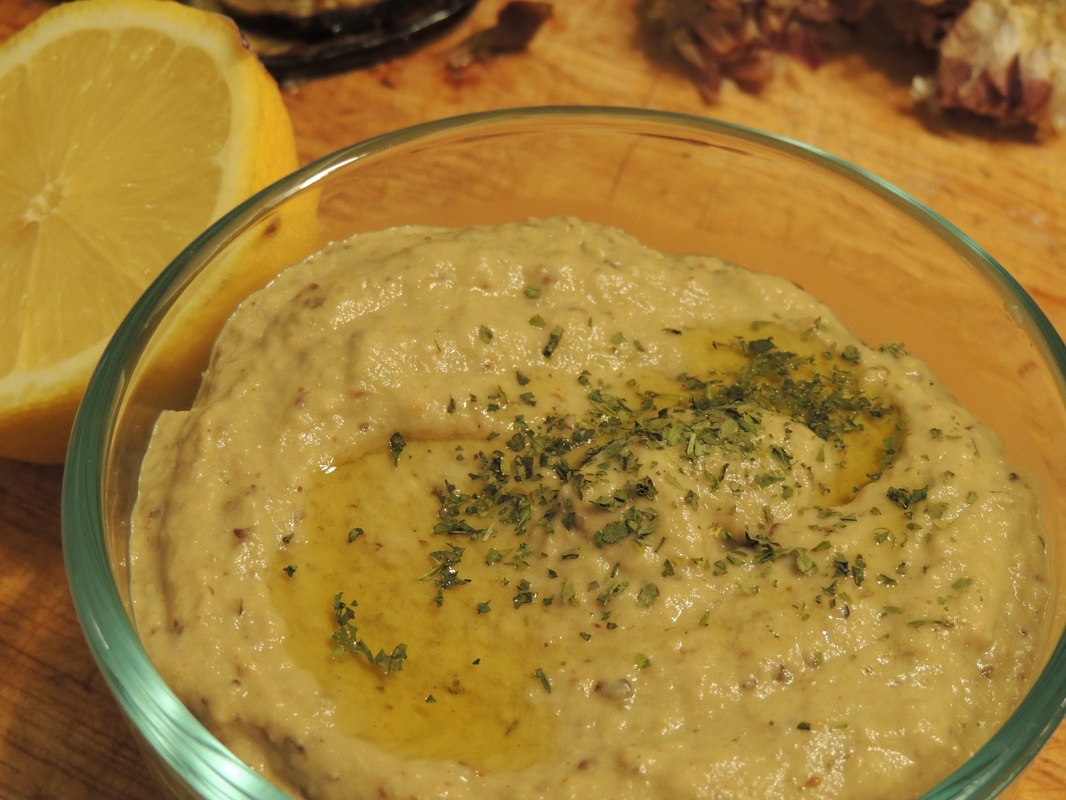 Years ago, I had no idea what Baba Ghanoush was. And then, I thought you could only buy it in stores, never make it at home. I've thought that with many things. Here's another one of those things, where yes, I spent more money and time figuring out how to make it than it would have cost me to buy it in the store. But hey - I controlled the ingredients, I learned something new, I could easily replicate it again and again, and the best part, I found a use for eggplant that most people enjoy. :) 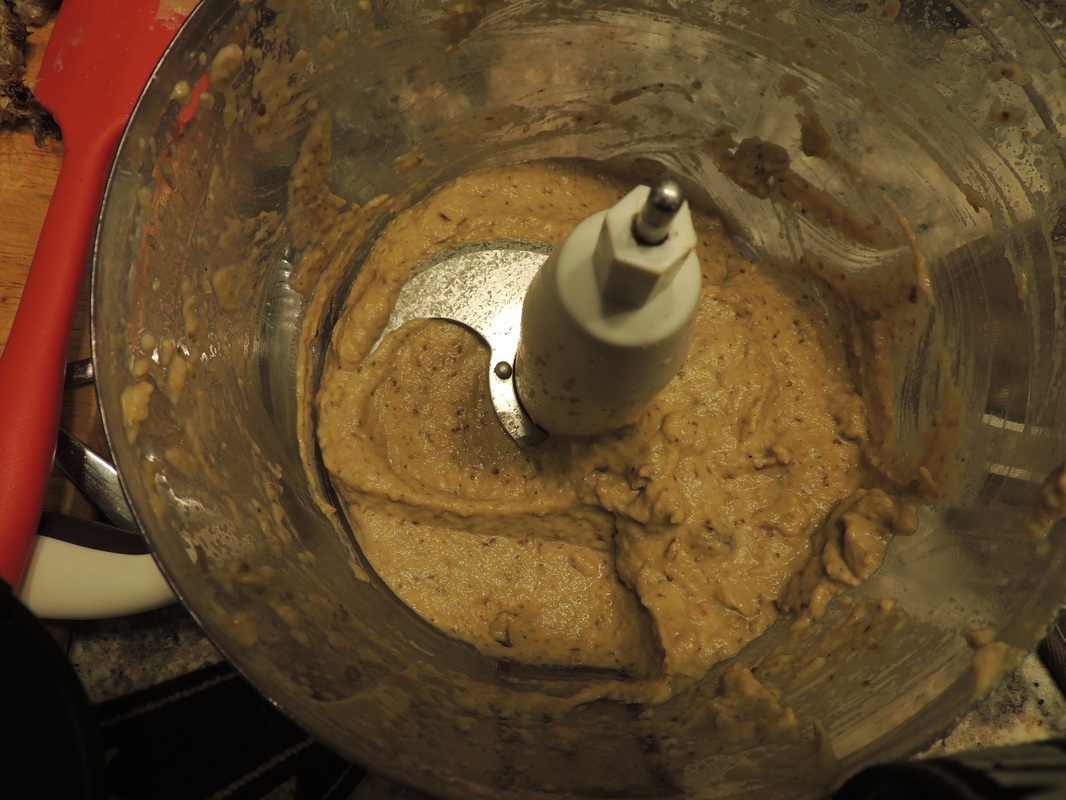 Baba Ghanoush:
Ingredients: 2 medium Eggplants 1/4 cup tahini (Sesame seed butter) 3 cloves garlic Juice of half lime 1 tbsp olive oil pinch sea salt/pepper What to do: 1) Preheat oven to 425 degrees fahrenheit. Cut the eggplants in half from top to bottom. Poke the skin a few times with a fork and then place them, skin side up, on a large baking sheet/pan. Drizzle a very small amount of oil over the skins and rub over the tops. Bake for 20-30 minutes, until the skins blacken and deflate, and flesh is really soft. 2) Remove from oven and let cool for 10 minutes. Remove the skin by scraping out the flesh into a food processor. 3) Add all other ingredients to the food processor and blend away! Pulse until combined and smooth. Taste test and add more salt, or perhaps even a bit of cumin, if needed/wanted more spice. 4) Scoop into a container and drizzle a bit of oil on top. Cover and refrigerator. For best tasting baba ghanoush, let sit in the refrigerator about 3 hours before serving to let the flavours mix well! Enjoy with pita or crusty bread, fresh veggies, whatever. Yum! 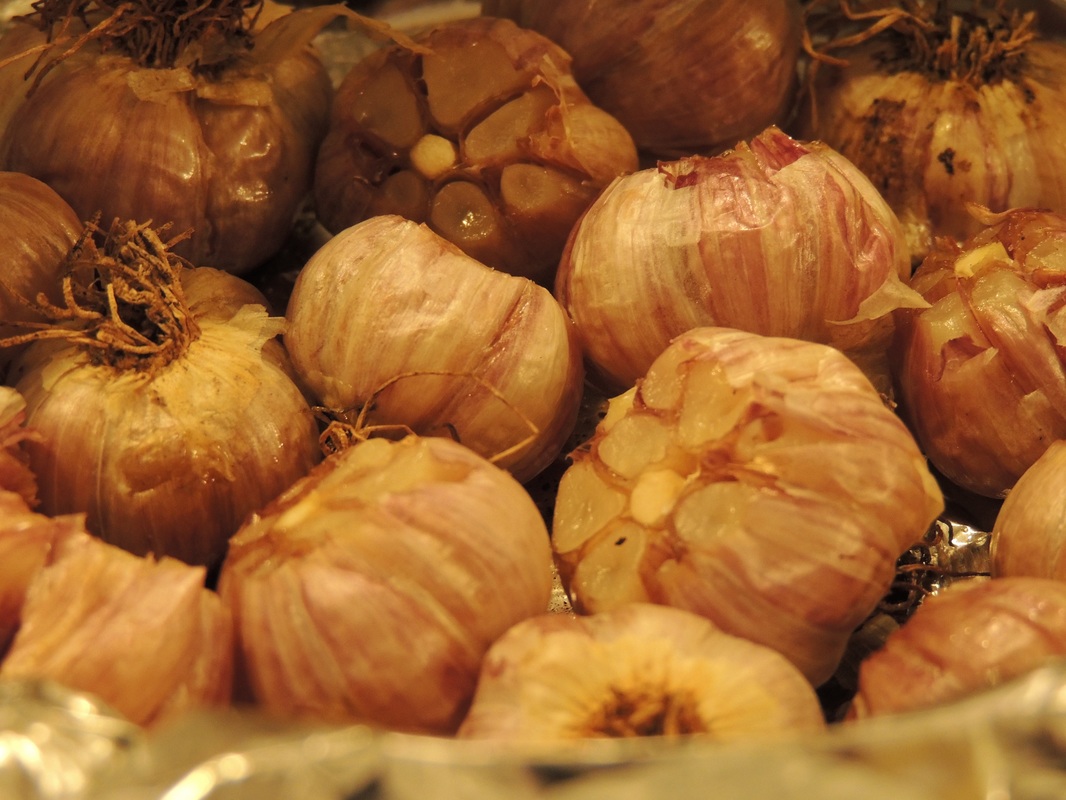 Ammmaaaaaaazing! We should all be doing it! 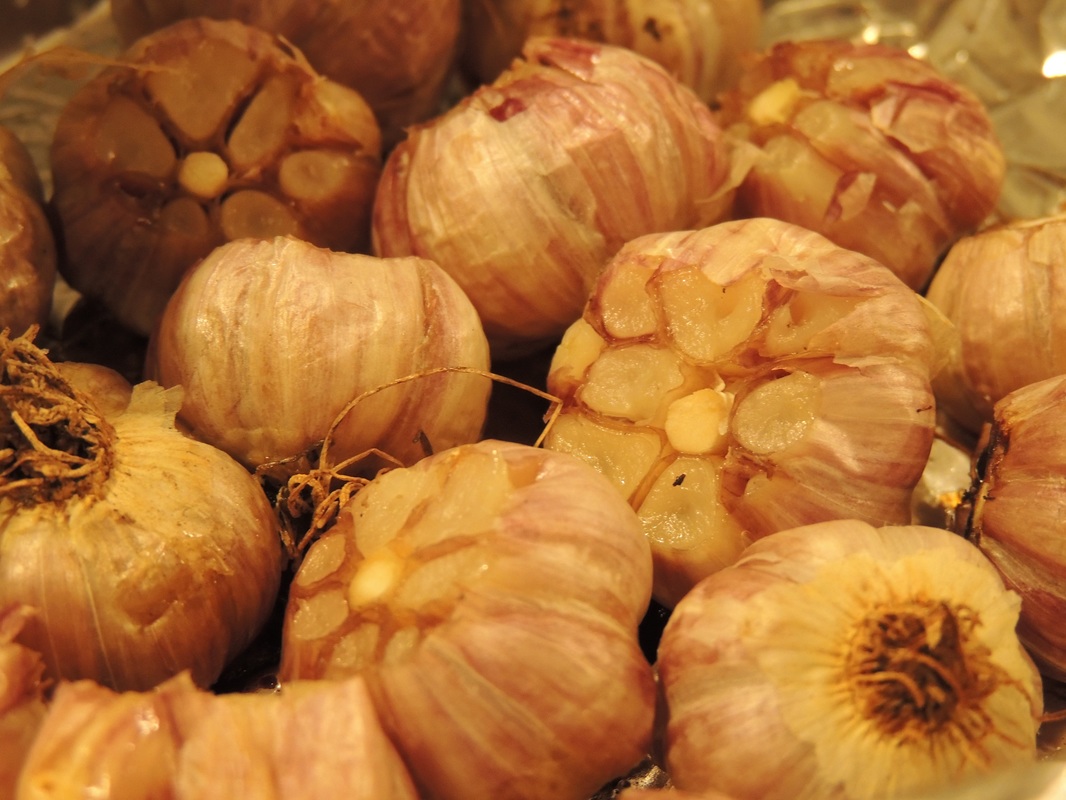 Just need your garlic bulbs, some tin foil, olive oil, and a pan to set it on in the oven. Nothing fancy. 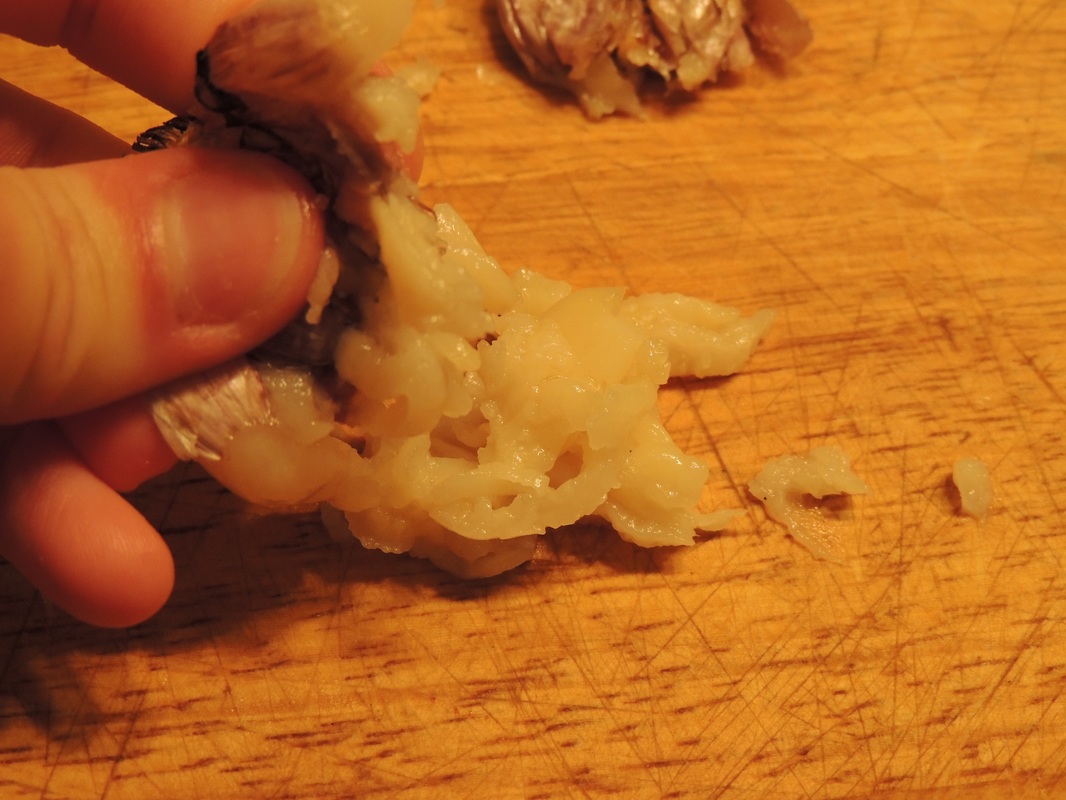 The result? This creamy, smooth, buttery-like garlic. You actually do squeeze it out. Like toothpaste. However, not toothpaste. You might need that, later. But seriously, so good. And, it kept in the fridge in an airtight container for almost 2 weeks! Give it a try. You won't be disappointed. 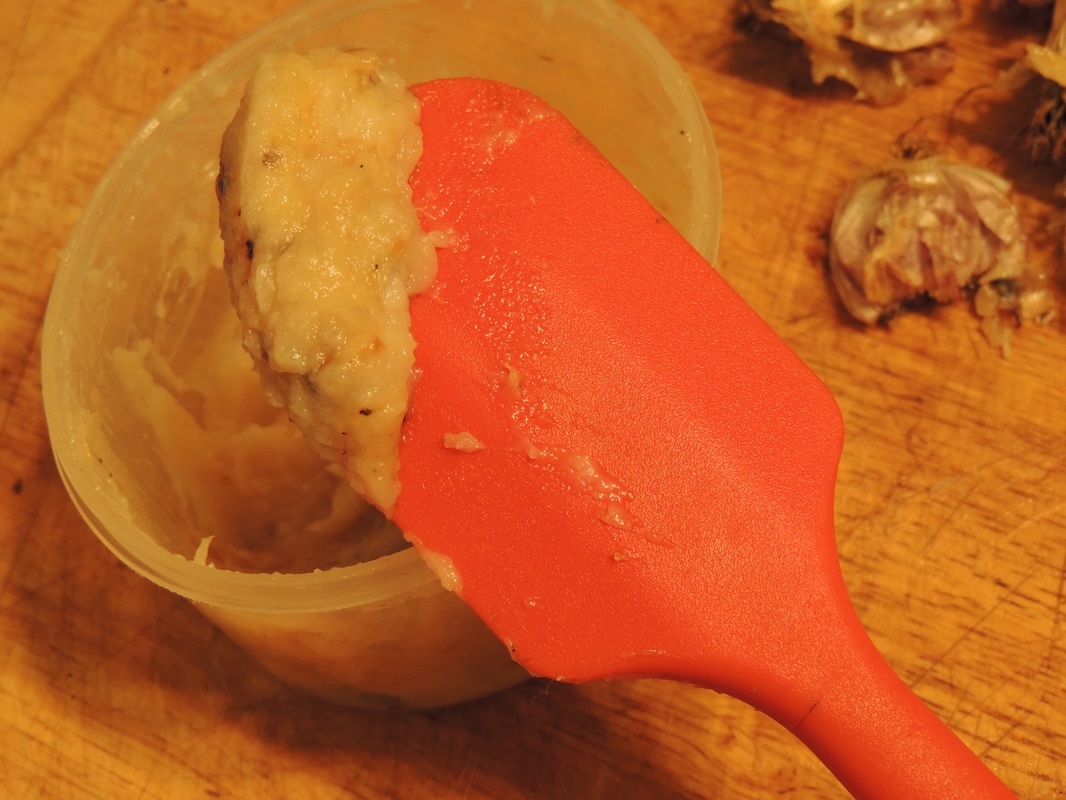 Roasted Garlic
Total Time: 40+ minutes, depending on the bulbs! Ingredients: Whole Garlic bulbs - as many as you like! Olive Oil Pinch Sea Salt What to do: 1) Preheat oven to 400 degrees fahrenheit. Take out a baking dish/tray and lay a large piece of tin foil on top. 2) Chop the tops off of the garlic bulbs so you expose each clove a tiny bit at the top. Place each bulb, exposed side up, on the tin foil. They can touch each other, doesn't matter. Drizzle olive oil over top of each bulb and sprinkle with a bit of salt. 3) Fold tin foil so it covers garlic bulbs and create a little packet. Fold edges over so air doesn't escape. Keeping in baking tray, place in oven, middle rack. Bake for 40 minutes or longer, checking at the 40 minute mark. You are looking for the garlic to look slightly golden but most importantly, soft to touch. 4) Once it's ready, take out, uncover, and let cool for about 10 minutes. Then, carefully, take each bulb and squeeze from the bottom up. You should find the most amazingly smooth, buttery garlic you've ever tasted!!! 5) You can use it right away, on toast, in sauces, on veggies or meat. Or, you can store in your refrigerator for a week or 2 and use in all of your meals! It's delicious. Enjoy! 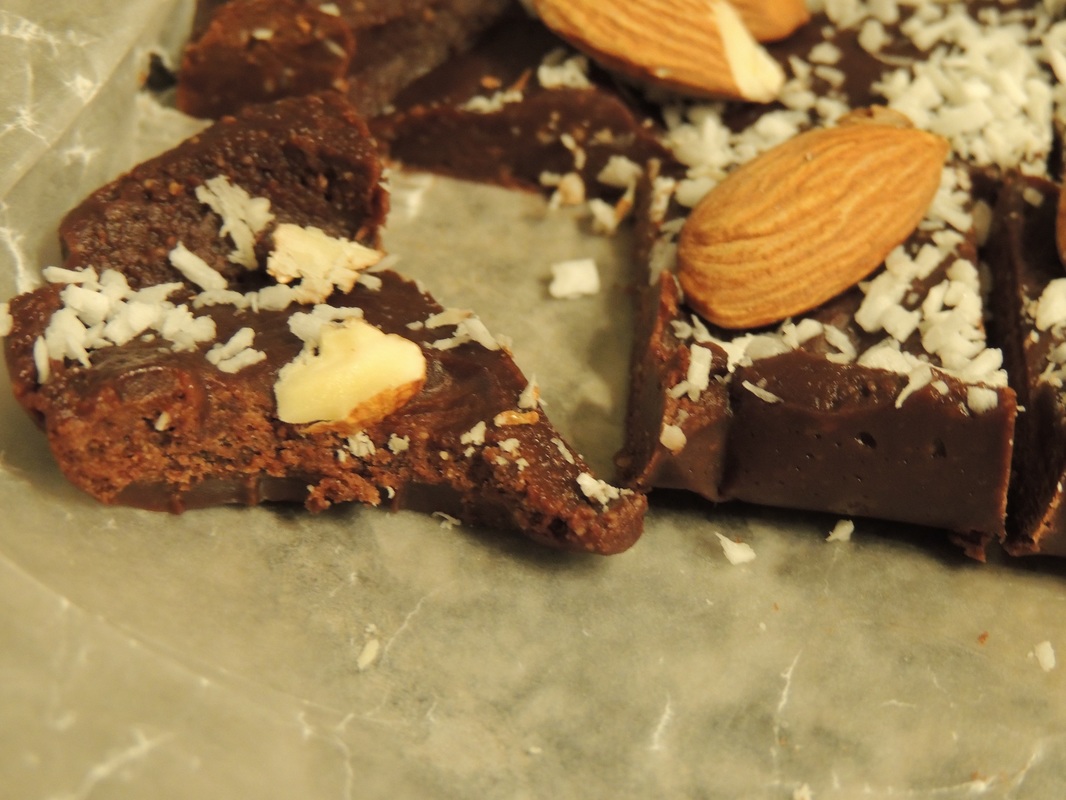 It was quiet in the house and there wasn't a scrap of something sweet to eat! Panic. Chocolate Nut Freezer Fudge. No loud noises required. No one will know you're making delicious treats, so you it's yours to have in secret! Best part of parenting. 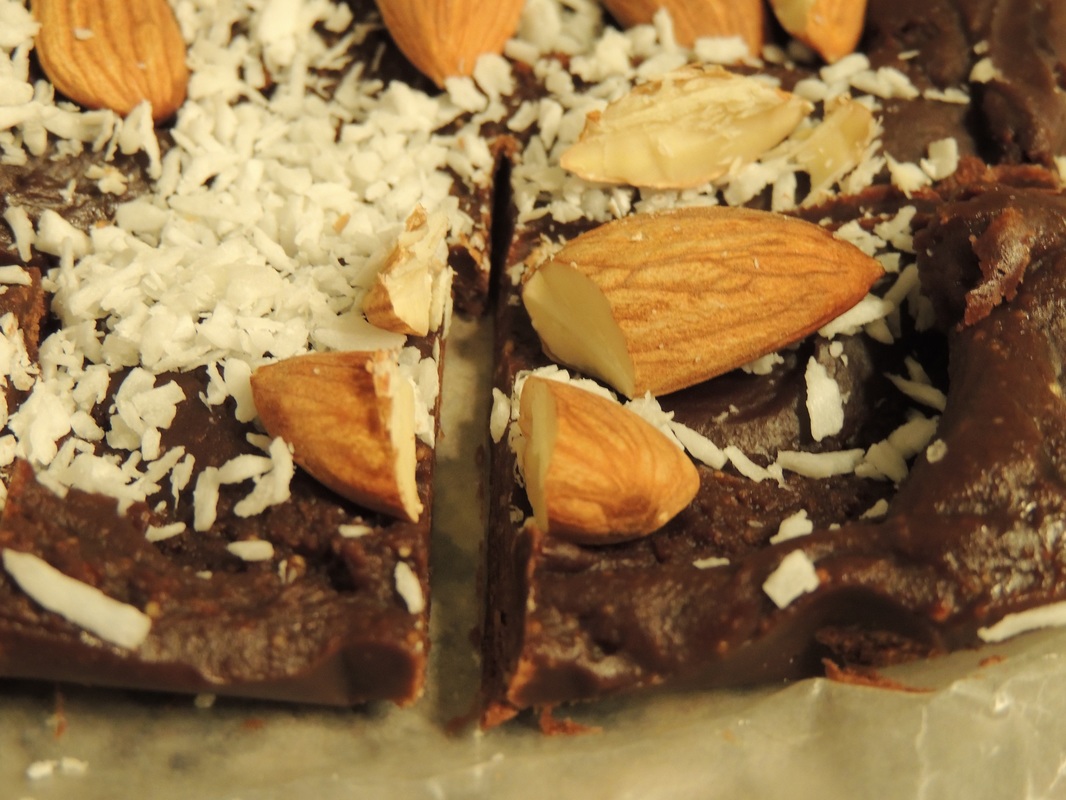 Use whatever nut or seed butter you have on hand. As long as you have the butter, the sweetener, the cocoa powder, and the oil, you're good to go.
Chocolate Nut Freezer Fudge Total Time : 5 minutes + Freezing 30 min - 24 hours Ingredients: 2 heaping tablespoons natural nut butter of choice (peanut butter here!) 2 tablespoons sweetener of choice (maple syrup here!) 1 tablespoon cocoa powder 1 tablespoon melted coconut oil 1 teaspoon vanilla extract dash of sea salt Handful of unsalted raw nuts & unsweetened shredded coconut to sprinkle on top What to do: 1) In a small saucepan over medium-low, melt together all ingredients except nuts/coconut toppings. Stir together until evenly combined and smooth. 2) In a parchment lined brownie pan, pour/spatula in the chocolate mixture and spread evenly. Sprinkle with coconut and nuts. 3) Pop in the freezer for about 30 minutes. Cut into square and enjoy or leave in the freezer until ready to enjoy. Or do what we do - leave in the freezer and sneak a square every now and then when you're craving something sweet. Usually once Hannah goes to nap! |
All Vegan, Refined-Sugar-free, Soy-free. A sprinkling of Gluten-free. And a pic of my babies, when they were babies. :)

Recipe Categories
All

|
 RSS Feed
