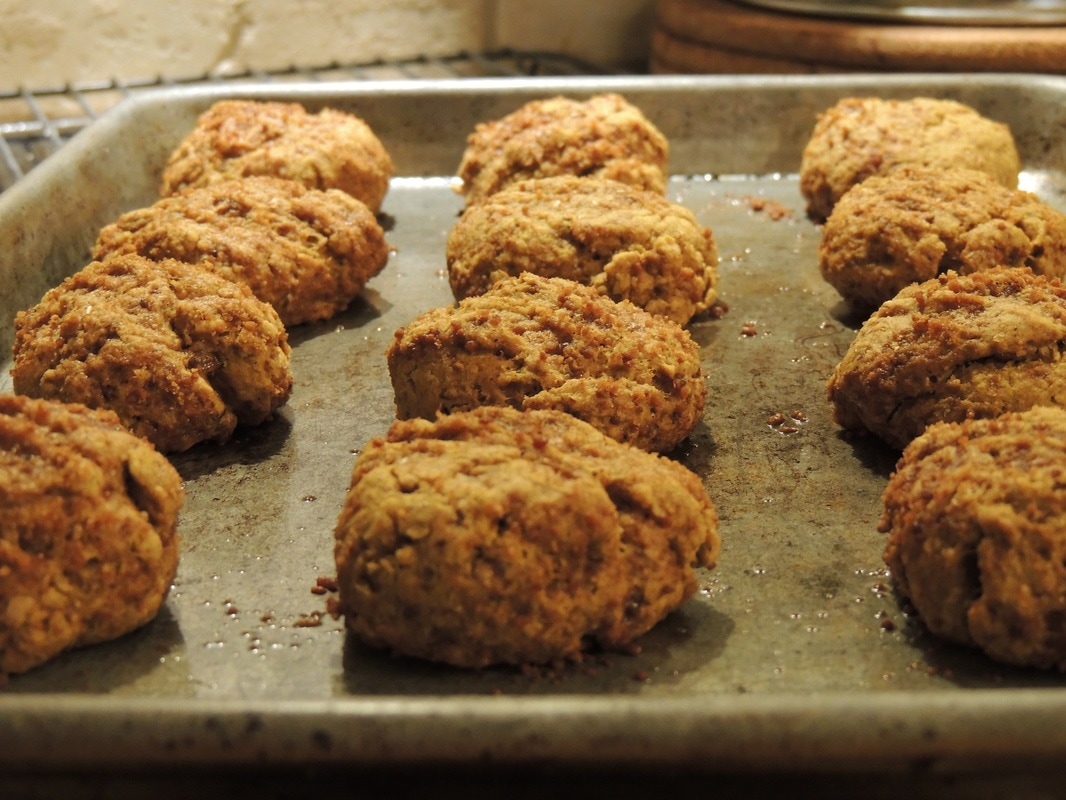
 This was one of those - 'hey, we have a ton of pumpkin puree, we need to use it up, and all the kids want to make is cookies' recipes. Brought to you by a lovely talented friend of mine. They come together quickly and easily, store well, and everyone eats them up. Sweet! So, here you go! Soft, sweet, chewy, and easy-peasy. 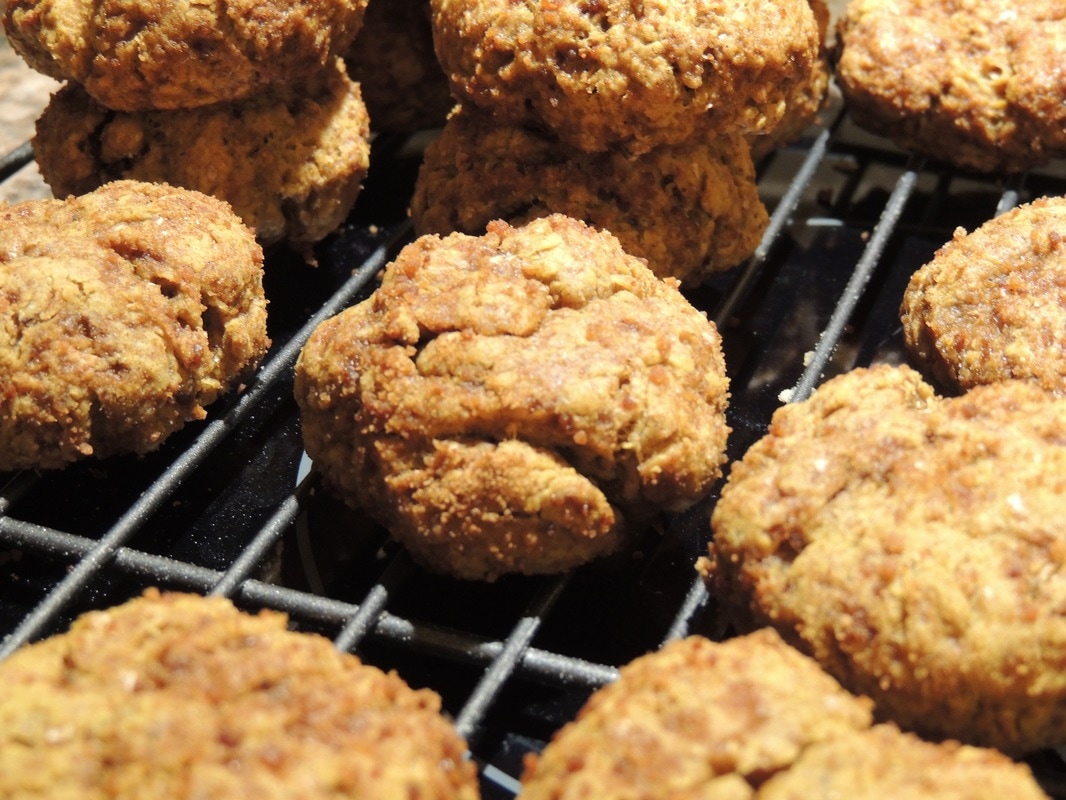 Pumpkin Snickerdoodles
Total Time: 15-20 minutes!! Seriously! Ingredients: Cookies: ½ cup coconut oil ¾ cup coconut sugar 1 large egg or flax egg ½ cup pumpkin puree ½ tsp vanilla extract 2 cups flour of choice 1 tsp cinnamon ½ tsp nutmeg ½ tsp ground ginger ¾ tsp baking soda ½ tsp sea salt Cinnamon Coating: ½ cup coconut sugar 1 tsp cinnamon ¼ tsp nutmeg Instructions
 This recipe isn't mine... But it's by my all time favourite vegan food blogger - Oh She Glows. By far the most used cookbook sitting on the shelf in my kitchen.
It's a good snack, tasty, and a great way to feel good about what you're giving your kids to eat while you figure out what the heck you're going to put on the dinner table for supper. Enjoy! Salt n' Vinegar Roasted Chickpeas Ingredients:
Directions: 1. Add chickpeas into pot and cover with vinegar. Bring to a boil and then remove from heat. Let sit in pot for 25-30 minutes, covered. 2. Preheat oven to 400F. Drain chickpeas in a strainer and discard vinegar. Place chickpeas on a baking sheet lined with parchment paper and drizzle with olive oil and sea salt. Massage with fingers until fully coated. 3. Roast for 30 minutes, stirring once half way through. Keep a careful eye on them after 20 minutes of cooking to ensure they don’t burn. Cool on pan for 5 minutes. They will crisp up as they cool. Enjoy! Original Recipe found here or in her cookbook! 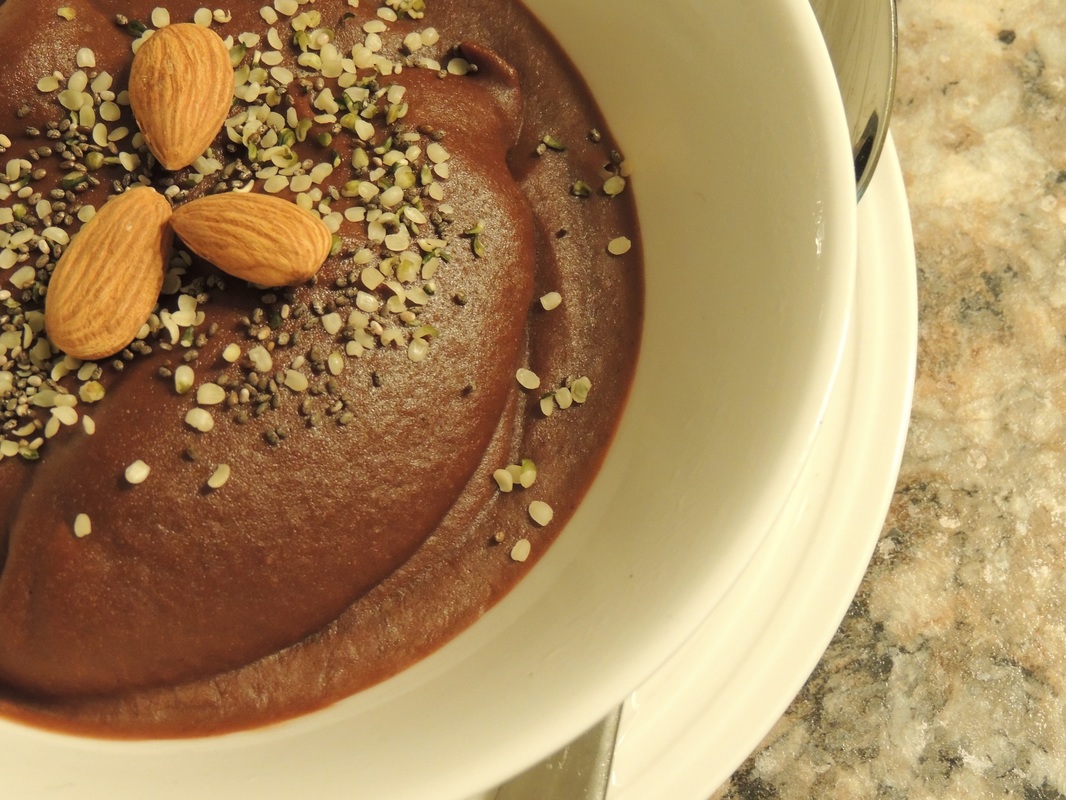 This is the evening treat to have in our house. This variety, using almond butter is particularly awesome. However, if you're not into buying the insanely expensive almond butter or perhaps there's a nut allergy nearby, you can omit any of the ingredients except the bananas, they are kind of essential. All other ingredients can be swapped, left out, adjusted, whatever! And you don't really have to measure, we never do, just kind of go for it. Take the risk. You can do it. 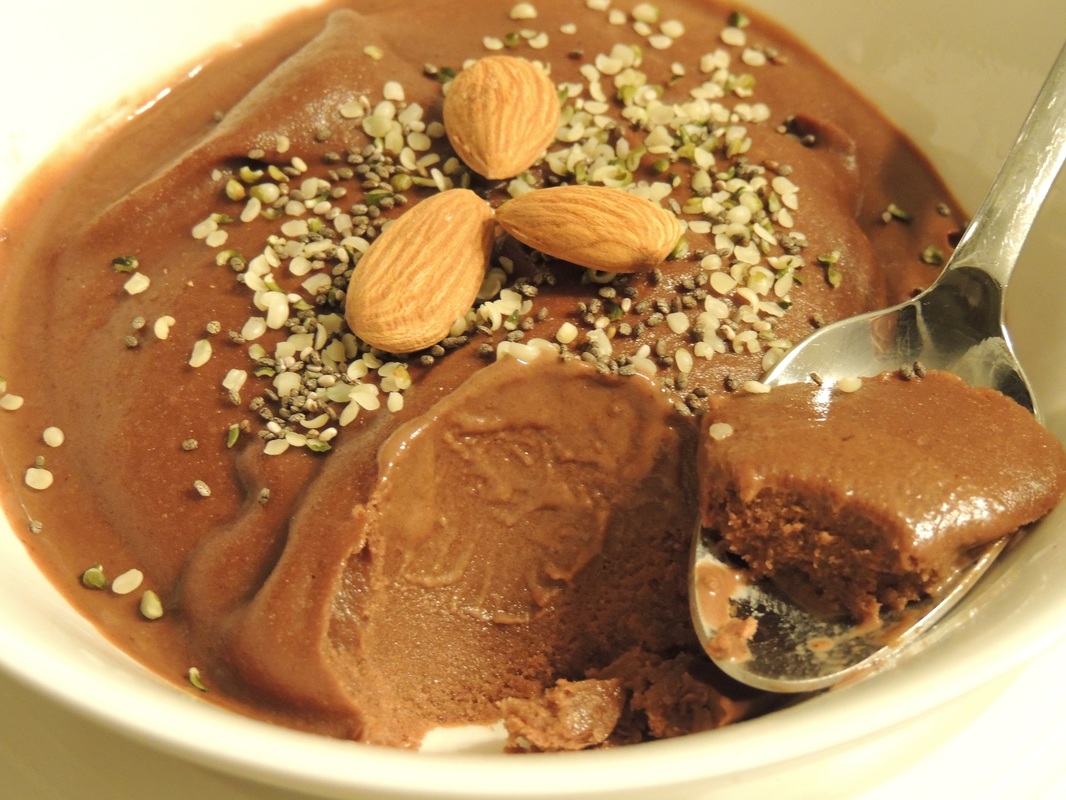 And another fantastic use for ripe bananas! Just be sure you peel and chop them BEFORE you put them in the freezer. You'll thank yourself later. 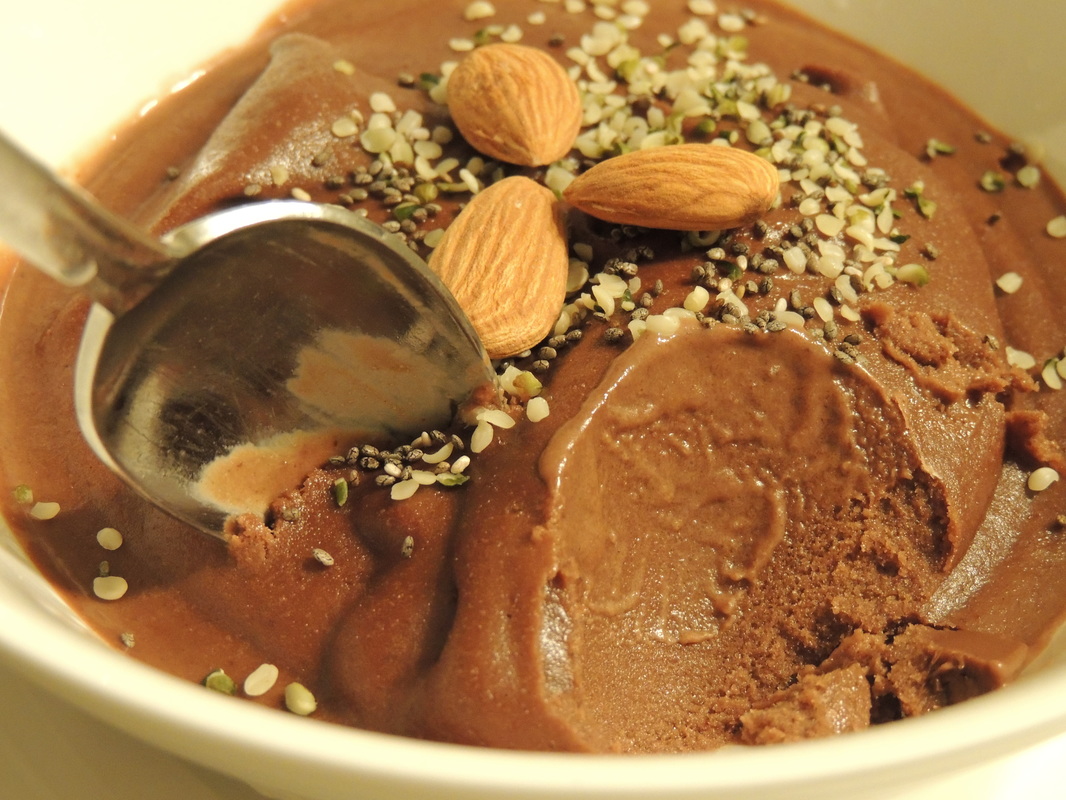 Chocolate Almond Banana Ice Cream
Ingredients: 3 ripe bananas, peeled, chopped, and frozen (overnight) 1 tbsp almond butter (or any nut/seed butter, or omit completely and it still tastes great) 1 tbsp cocoa powder 1 tsp vanilla extract 1/4 cup or a bit more almond milk, or another milk/milk alternative What to do: 1) Take frozen bananas out of freezer and let sit for about 5 minutes if they are rock hard frozen. Then, empty into food processor or high speed blender ensuring they are broken up/separated and not stuck together into large banana chunks) 2) Add in all other ingredients and blend! Blend, blend, blend. Take off top, using a spatula scoop down the sides and smash it down bit to even it out, easier on the blender. Then blend some more. Blend, blend, blend, smash down, scoop, down, blend some more. Repeat until it forms a nice, smooth soft serve ice cream consistency. 3) Work quickly so it doesn't melt much more. Scoop ice cream out into a large bowl, or individual bowls, and place bowls into freezer to firm up a bit more. Lick food processor dishes before washing. A must in our house. 4) After about 30 minutes in the freezer, it should have started to harden back up into a scoop-able ice cream. Serve as is, with an easy dairy-free chocolate sauce, sprinkled with hemp and chia seeds, or chopped strawberry, or all of the above as I like it. Enjoy guys! This is a common dessert in our house! We hope you love it, too! |
All Vegan, Refined-Sugar-free, Soy-free. A sprinkling of Gluten-free. And a pic of my babies, when they were babies. :)

Recipe Categories
All

|
 RSS Feed
